Skip to content
Home
About
Gallery
Price List
Reimagined Guitars
How Your Guitar is Made
Contact Us
Home
About
Gallery
Price List
Reimagined Guitars
How Your Guitar is Made
Contact Us
Contact us
Home
About
Gallery
Price List
Reimagined Guitars
How Your Guitar is Made
Contact Us
Home
About
Gallery
Price List
Reimagined Guitars
How Your Guitar is Made
Contact Us
Contact us
How Your Guitar is Made
AG Series Acoustic
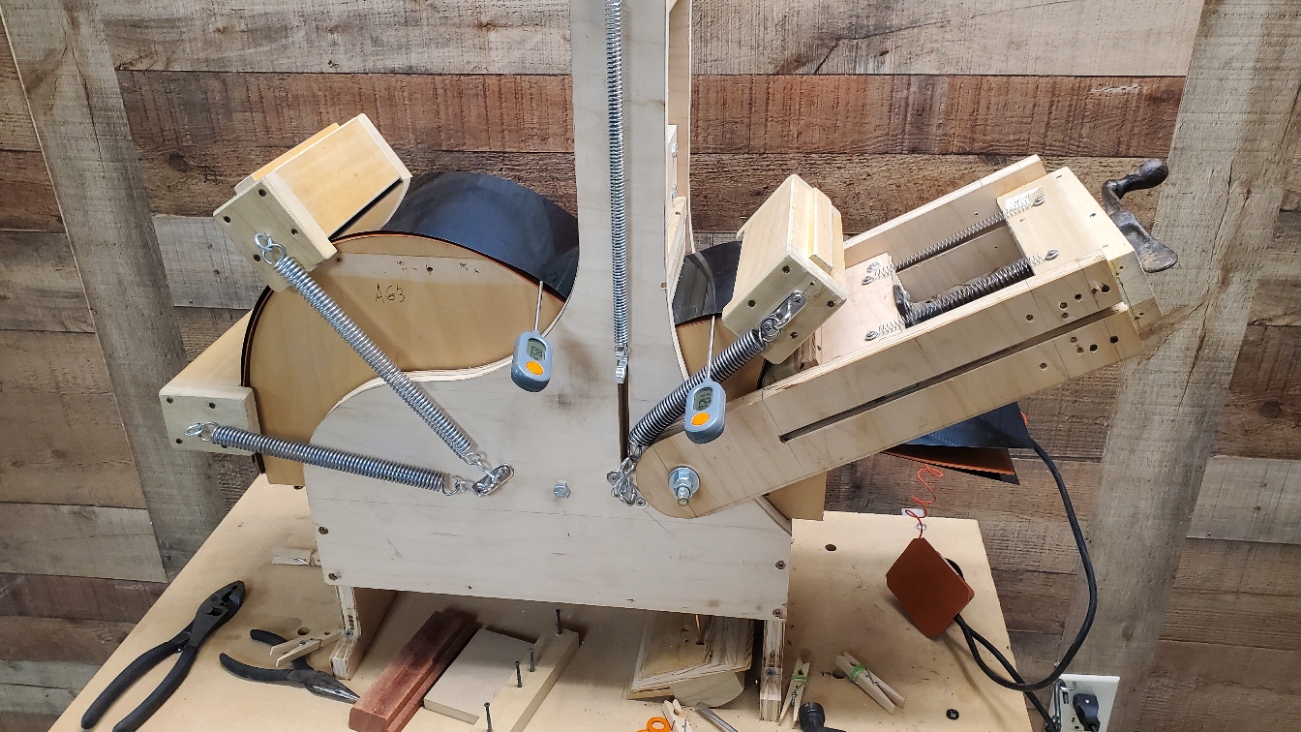
Step: 1 ( Bending Sides )
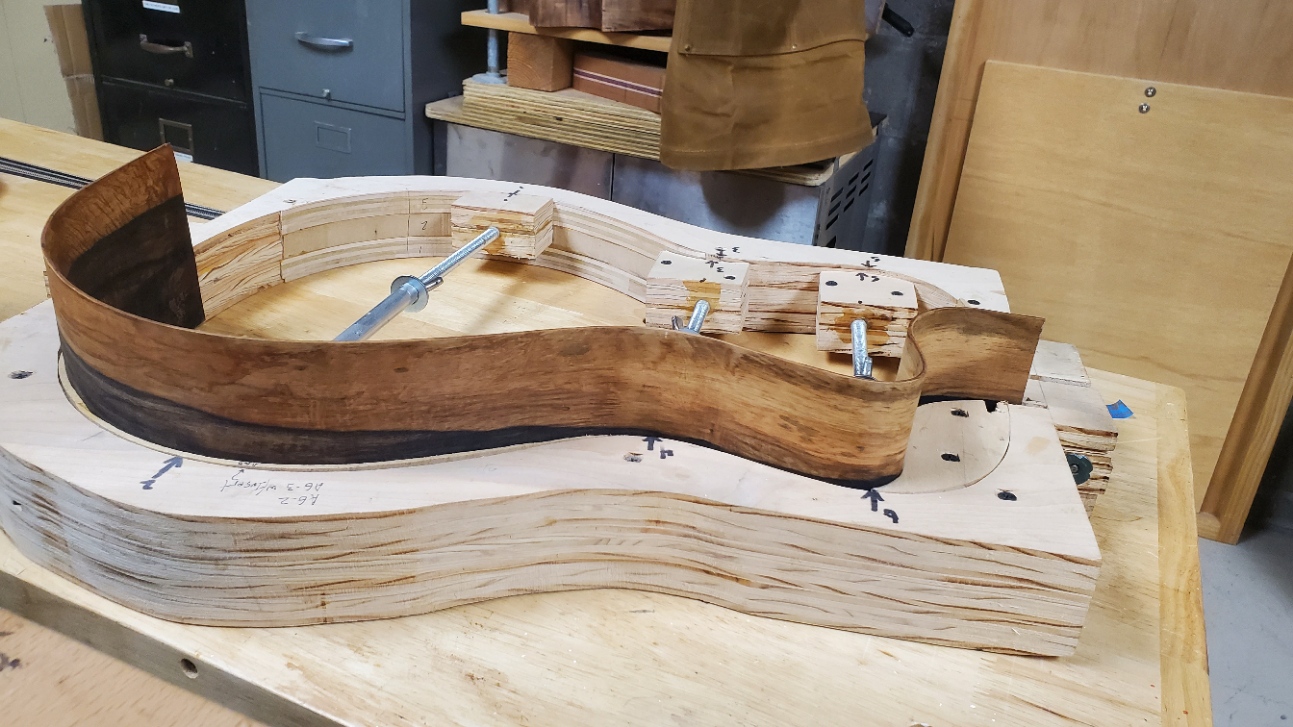
Step: 2 ( Glueing Blocks )
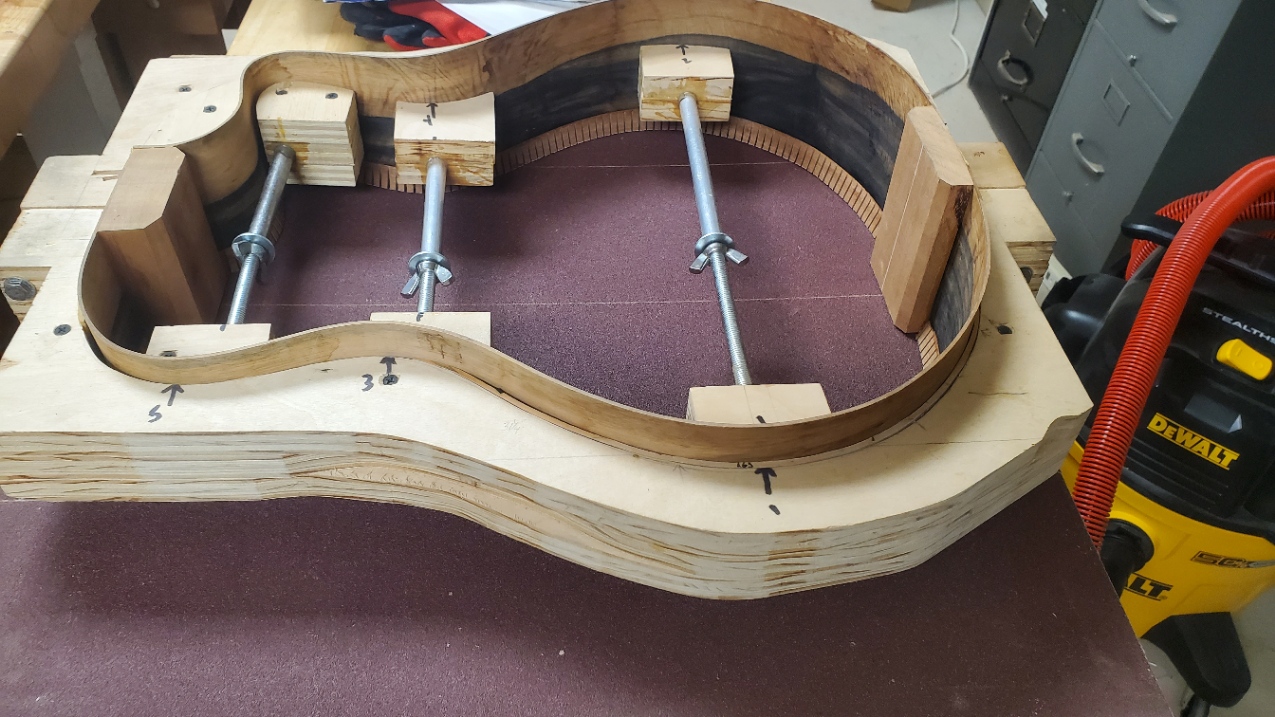
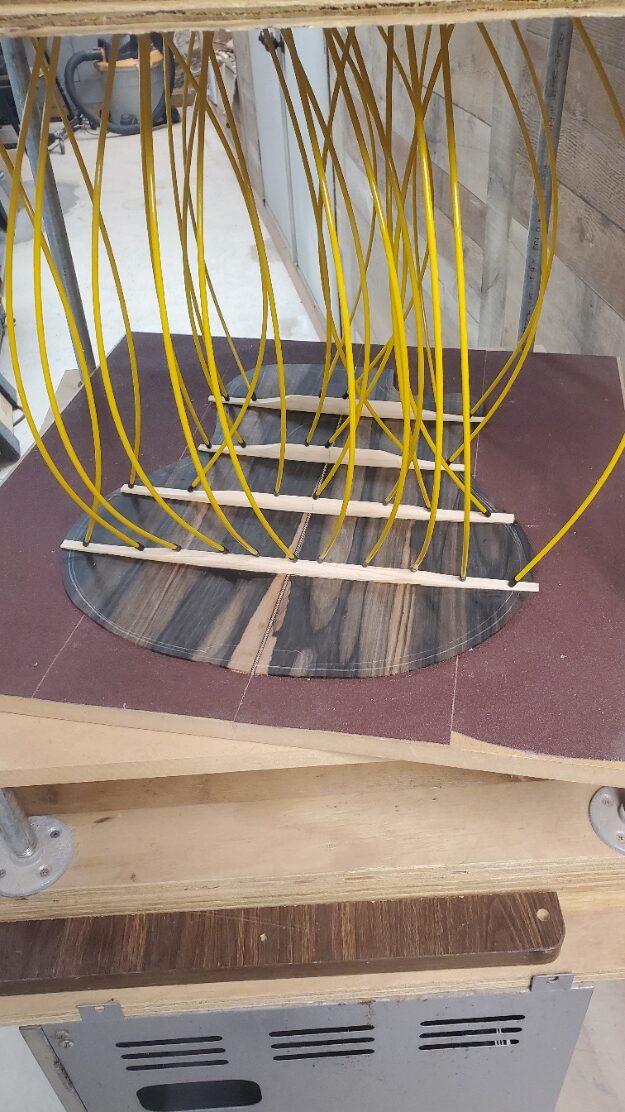
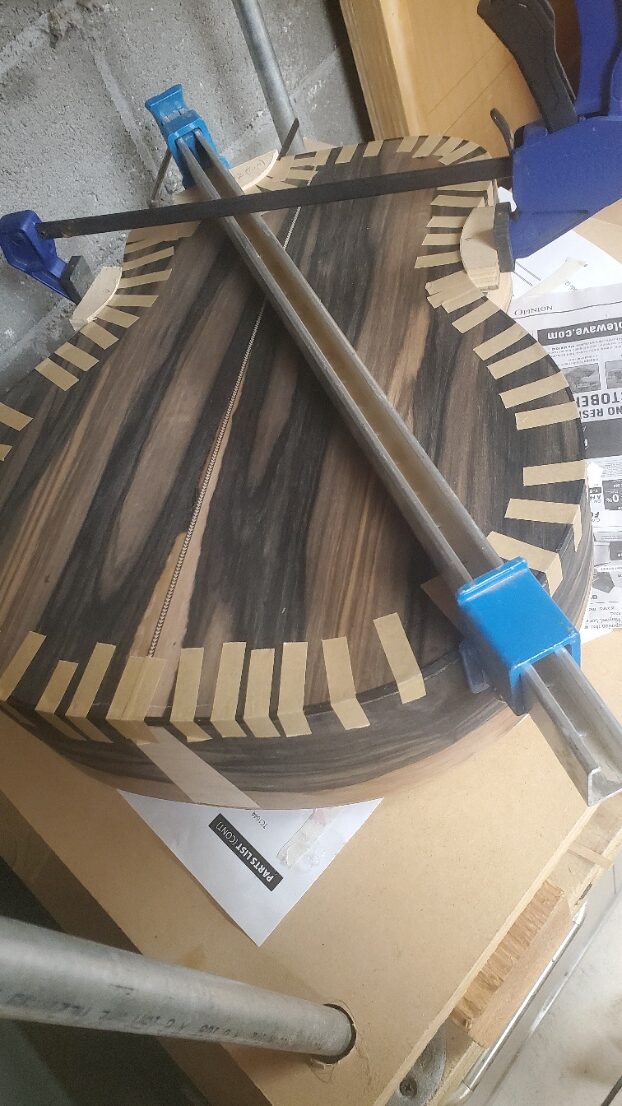
Step: 3 ( Radiusing Back )
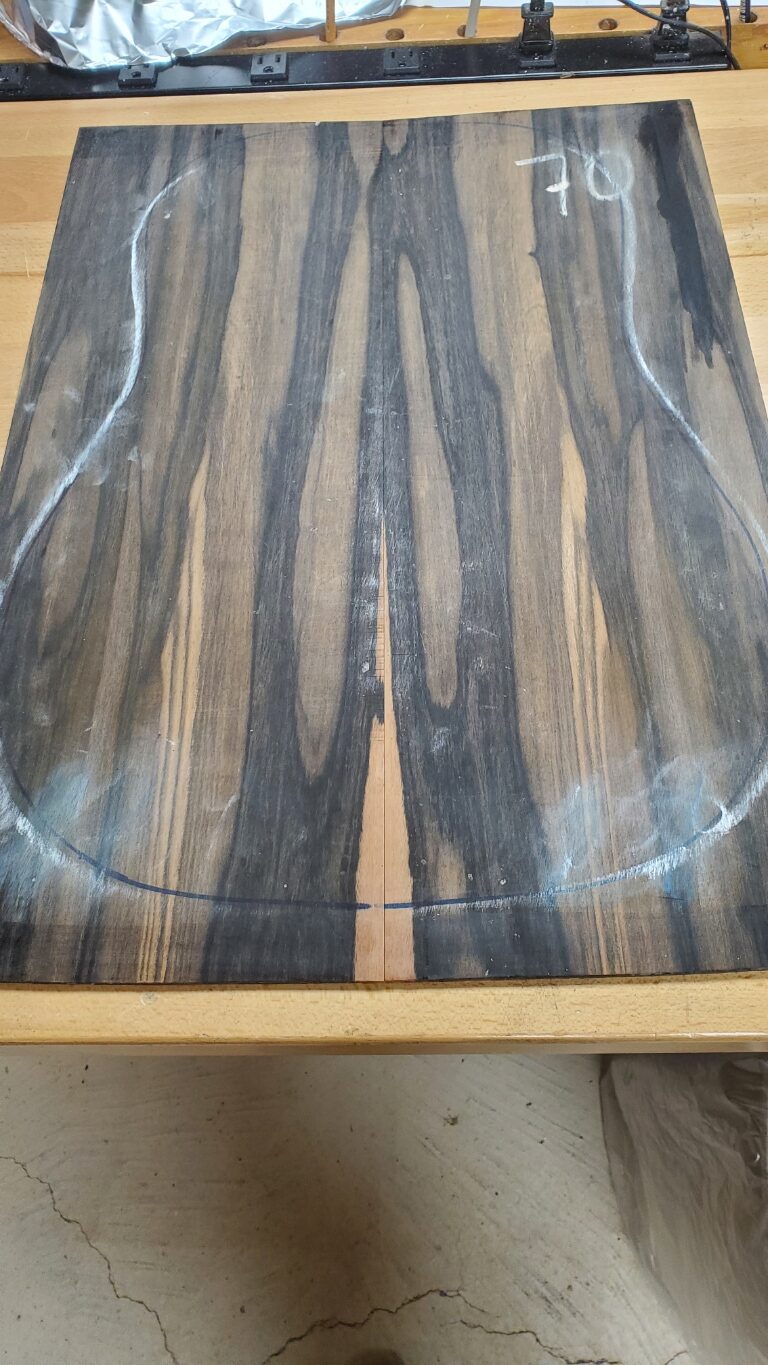
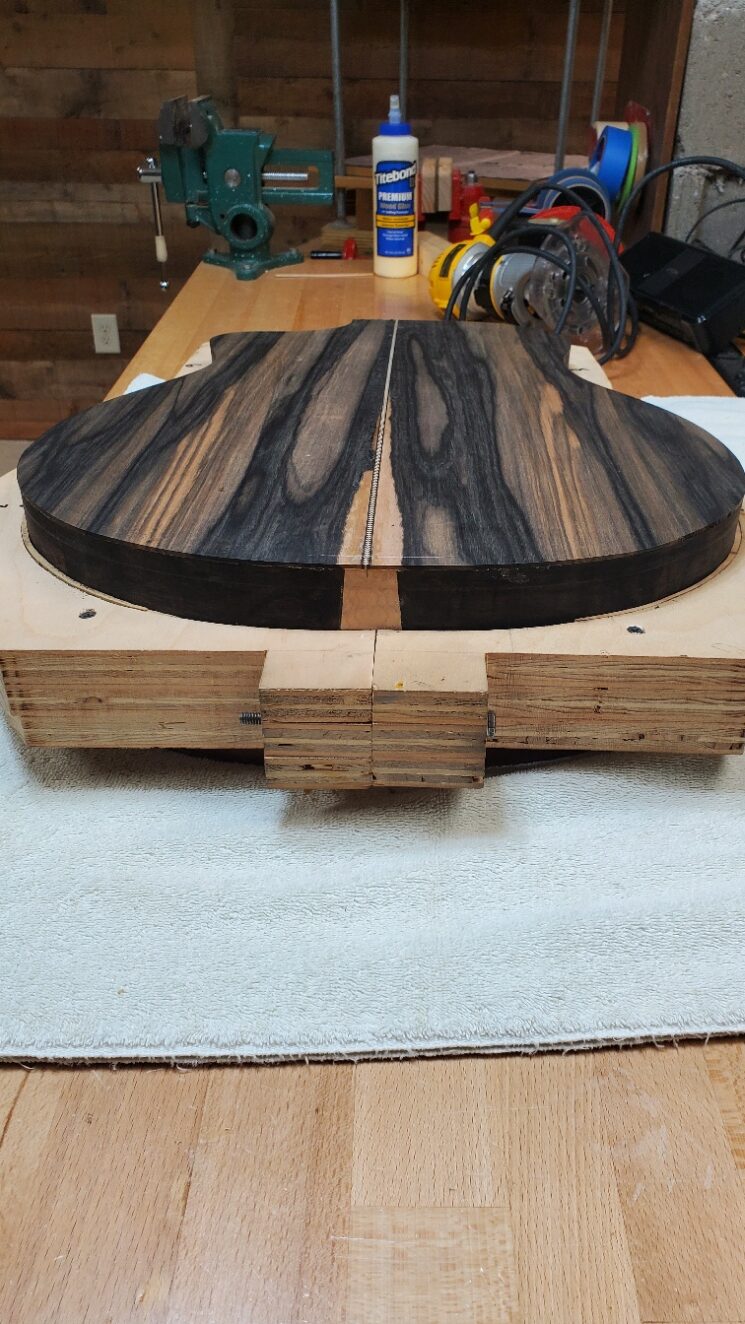
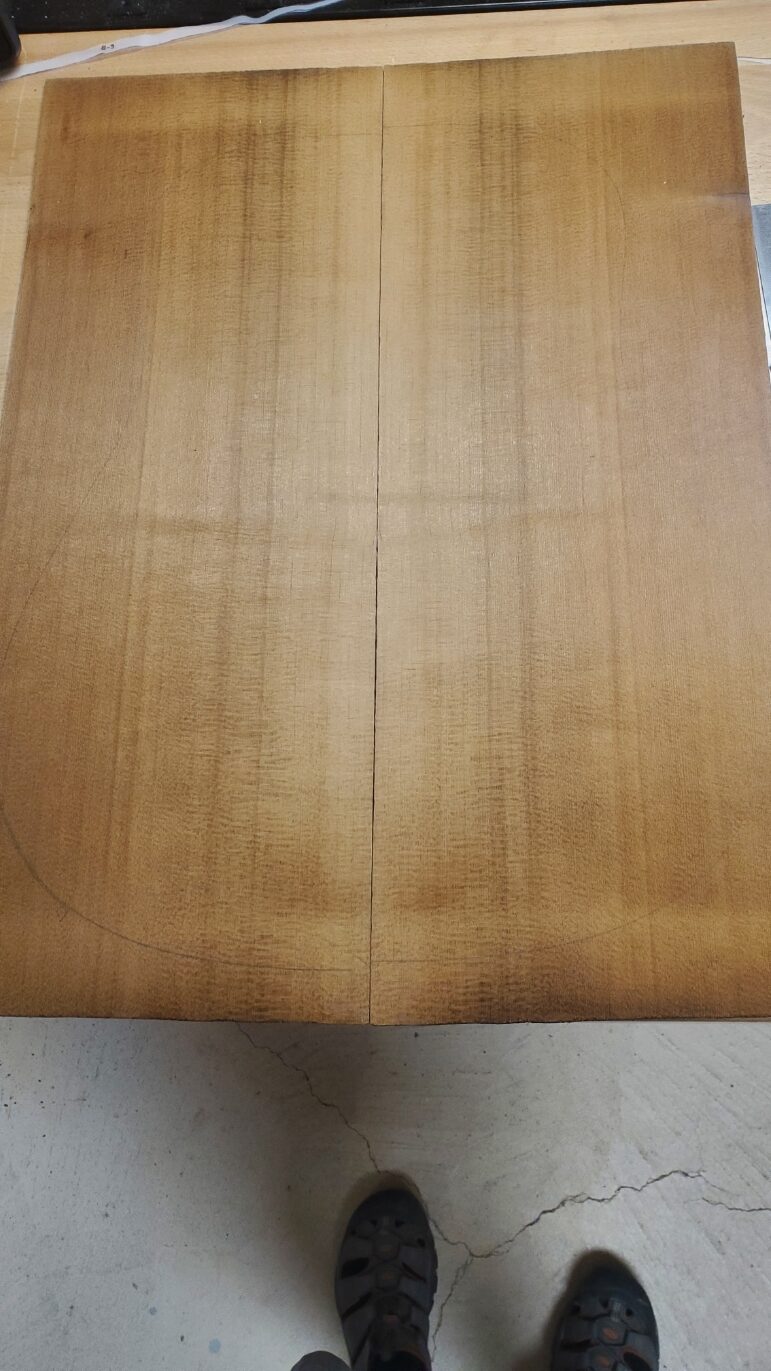
Step: 0 ( Joining Back )
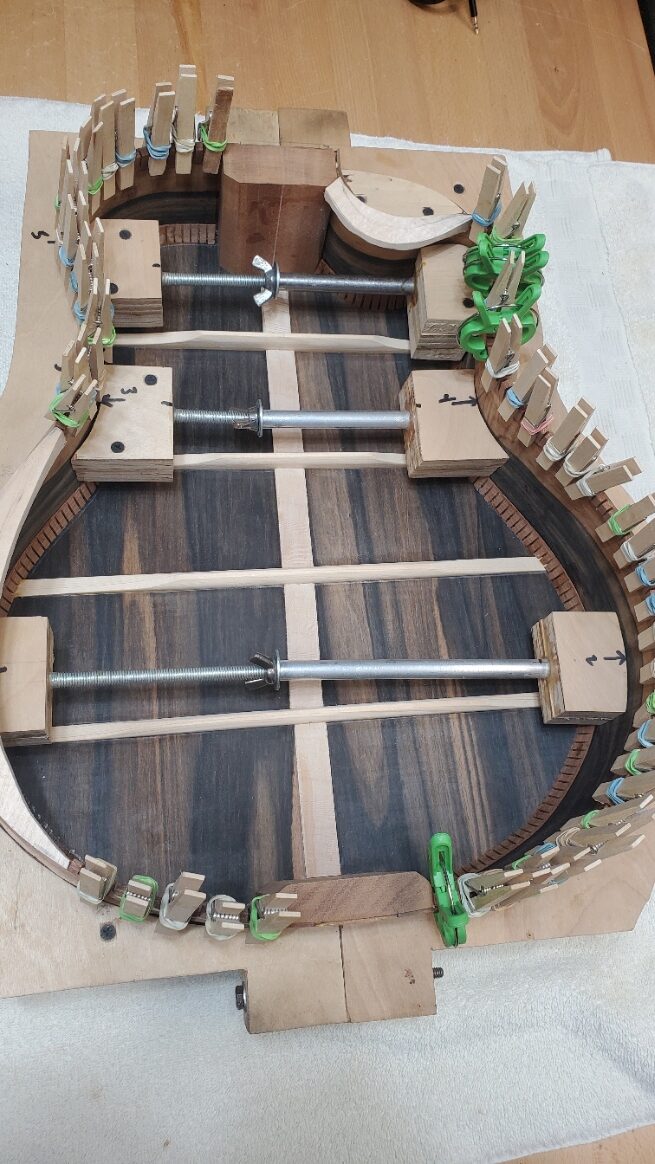
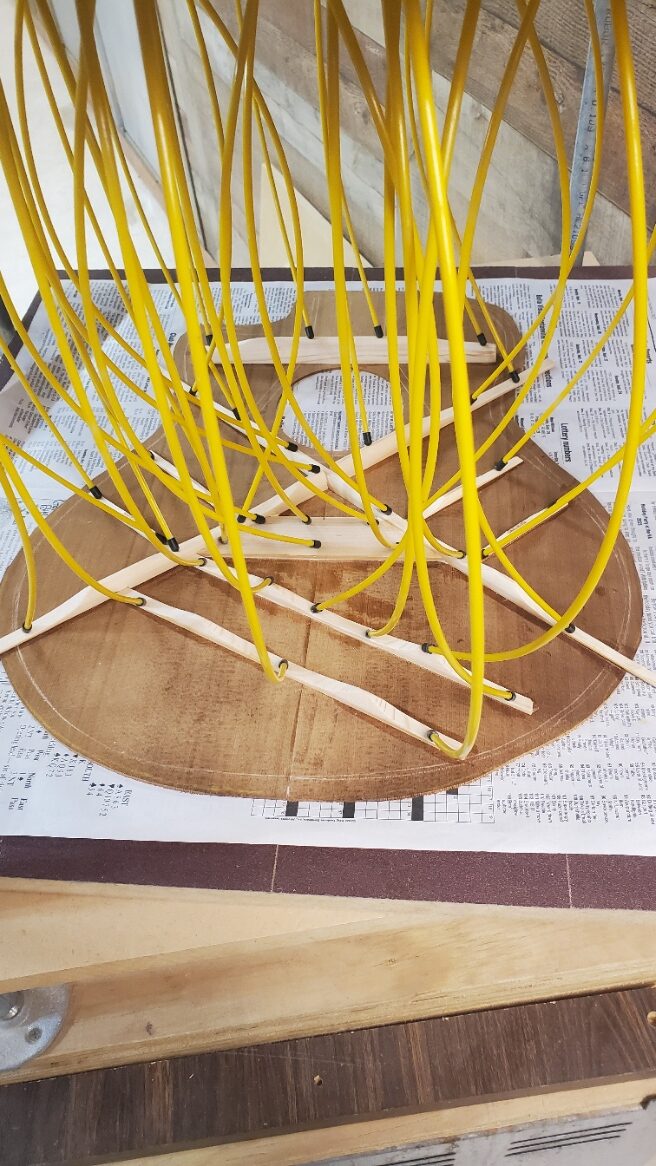
Step: 5 ( Bracing Back )
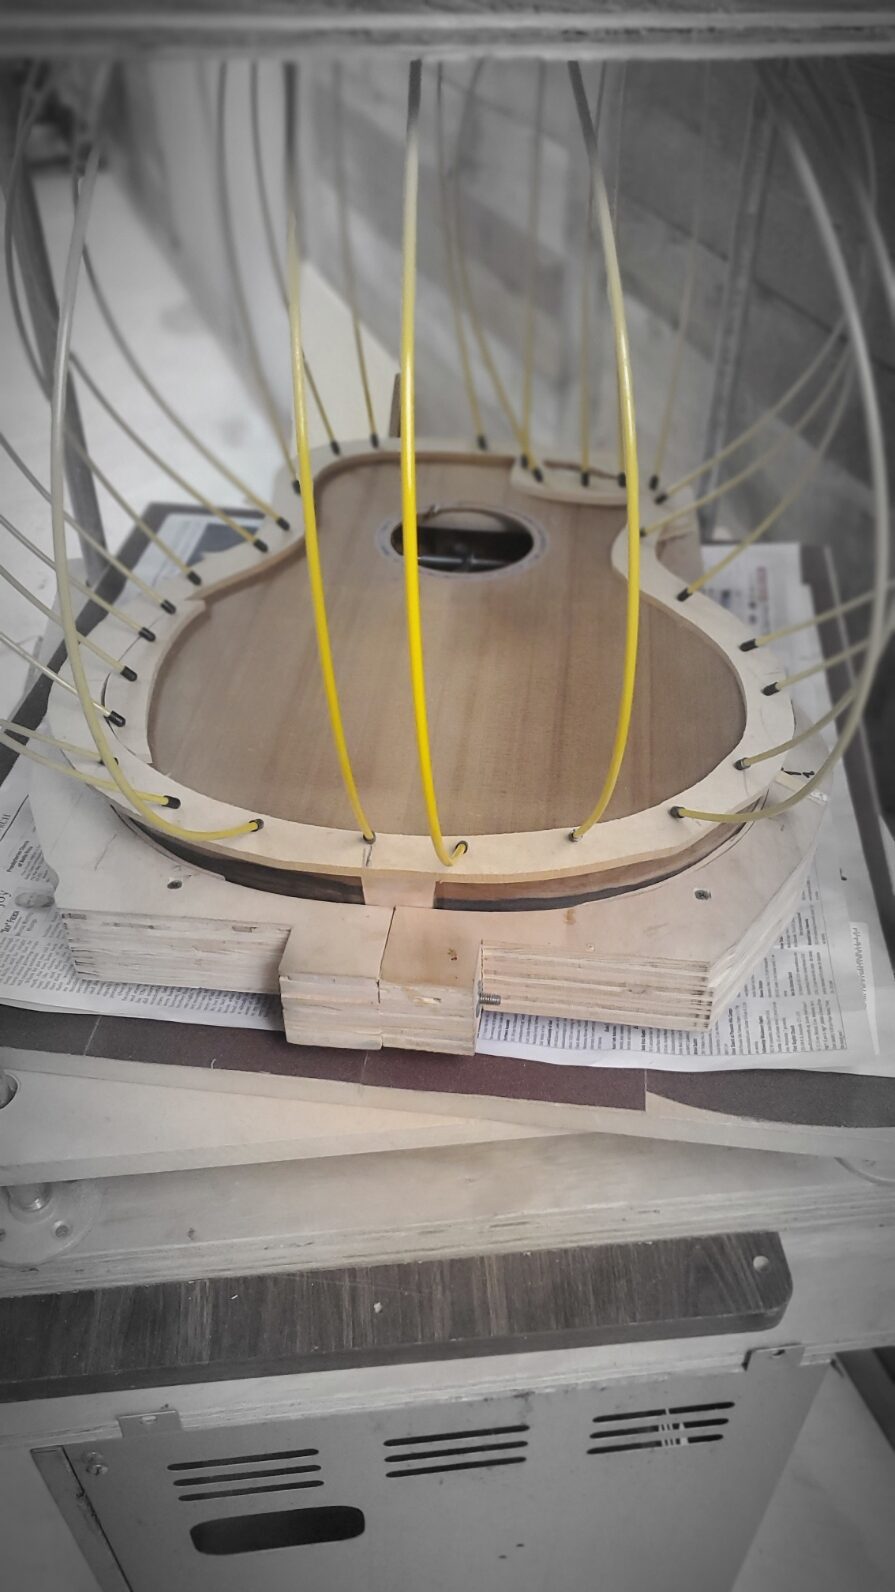
Step: 6 ( Gluing Back to Sides )
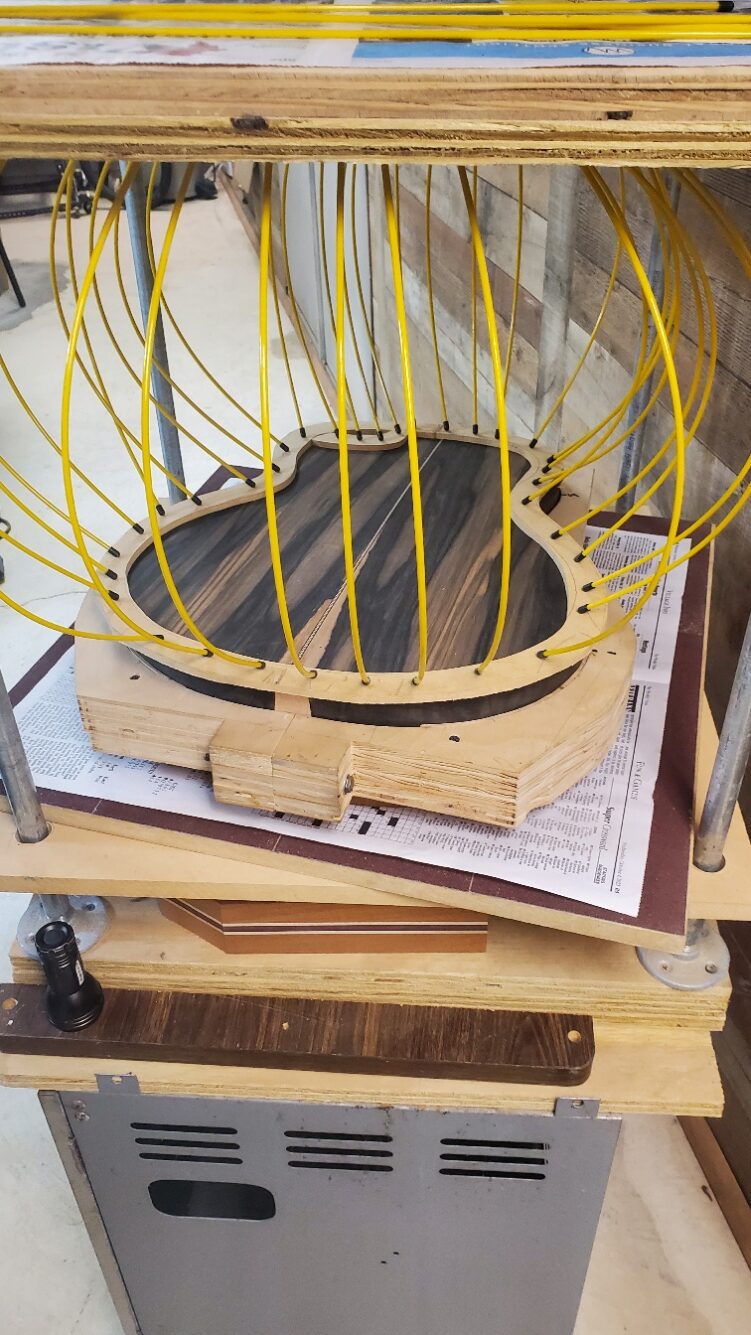
Step: 7 ( Back Attached )
Step: 8 ( Adding Kerfing for Top )
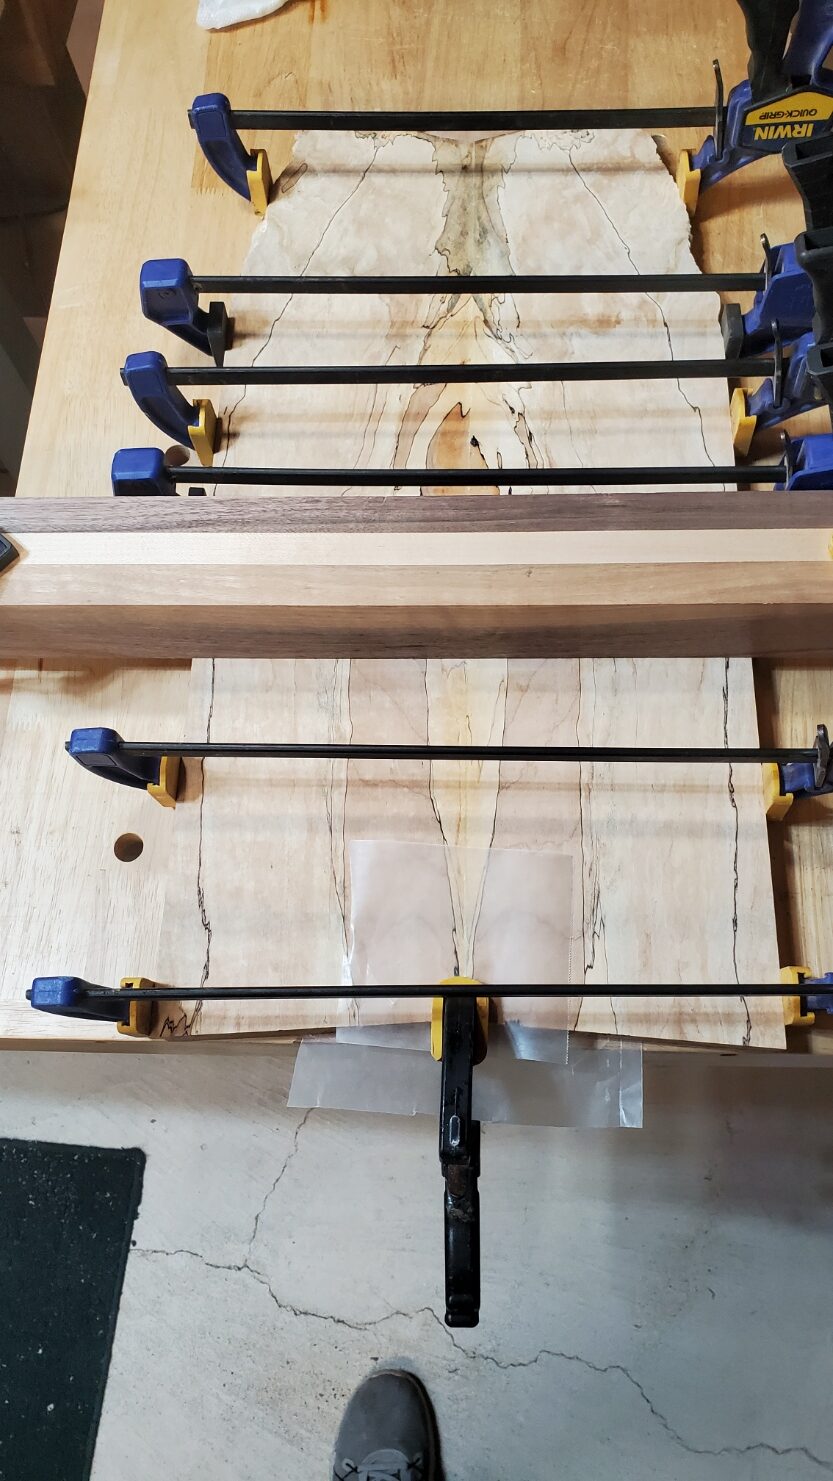
Step: 9 ( Joining top )
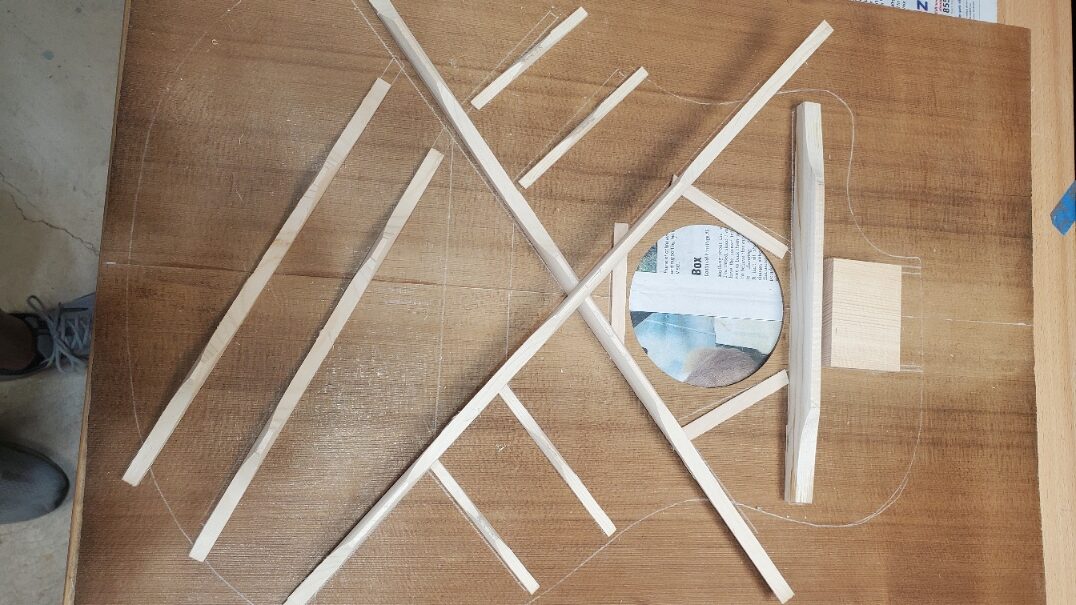
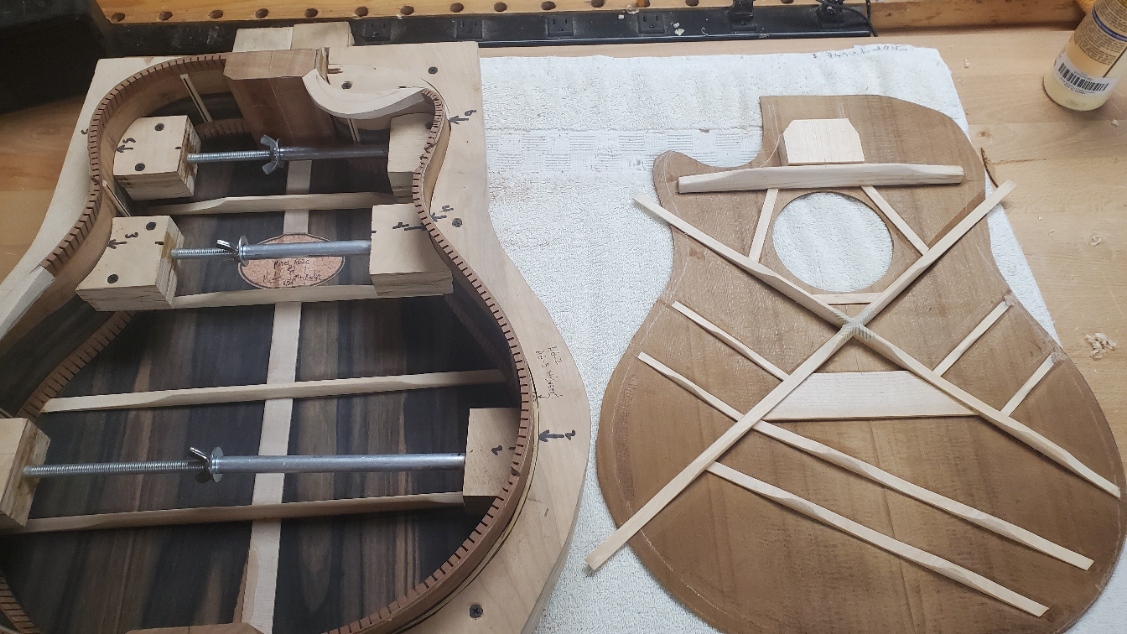
Step: 10 ( Top Bracing Layout )
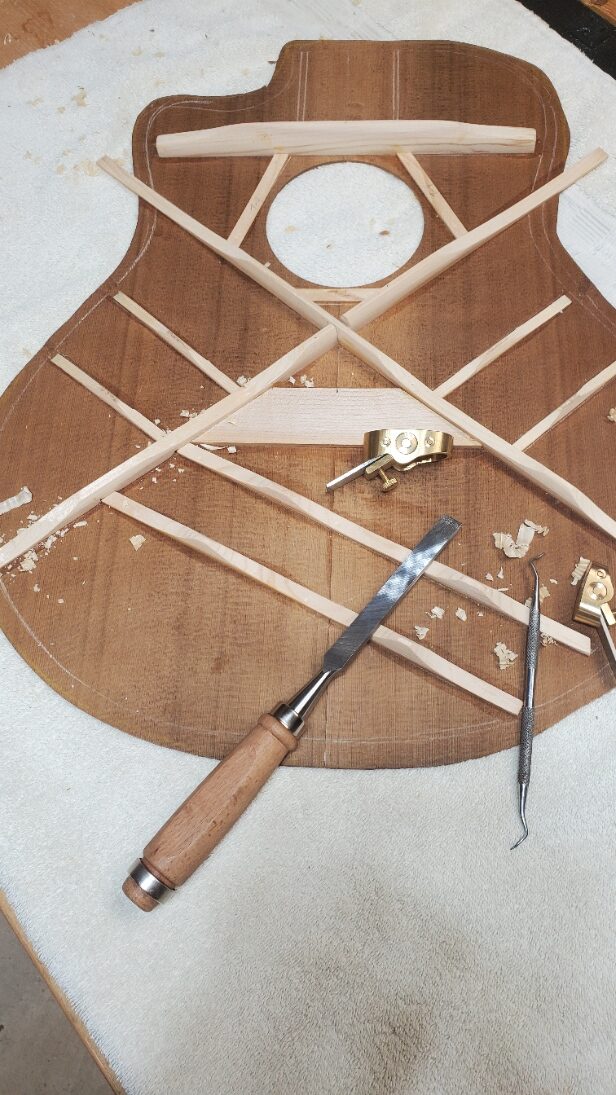
Step: 11 ( Gluing on Top Bracing )
Step: 12 ( Trim and Tune Top Bracing )
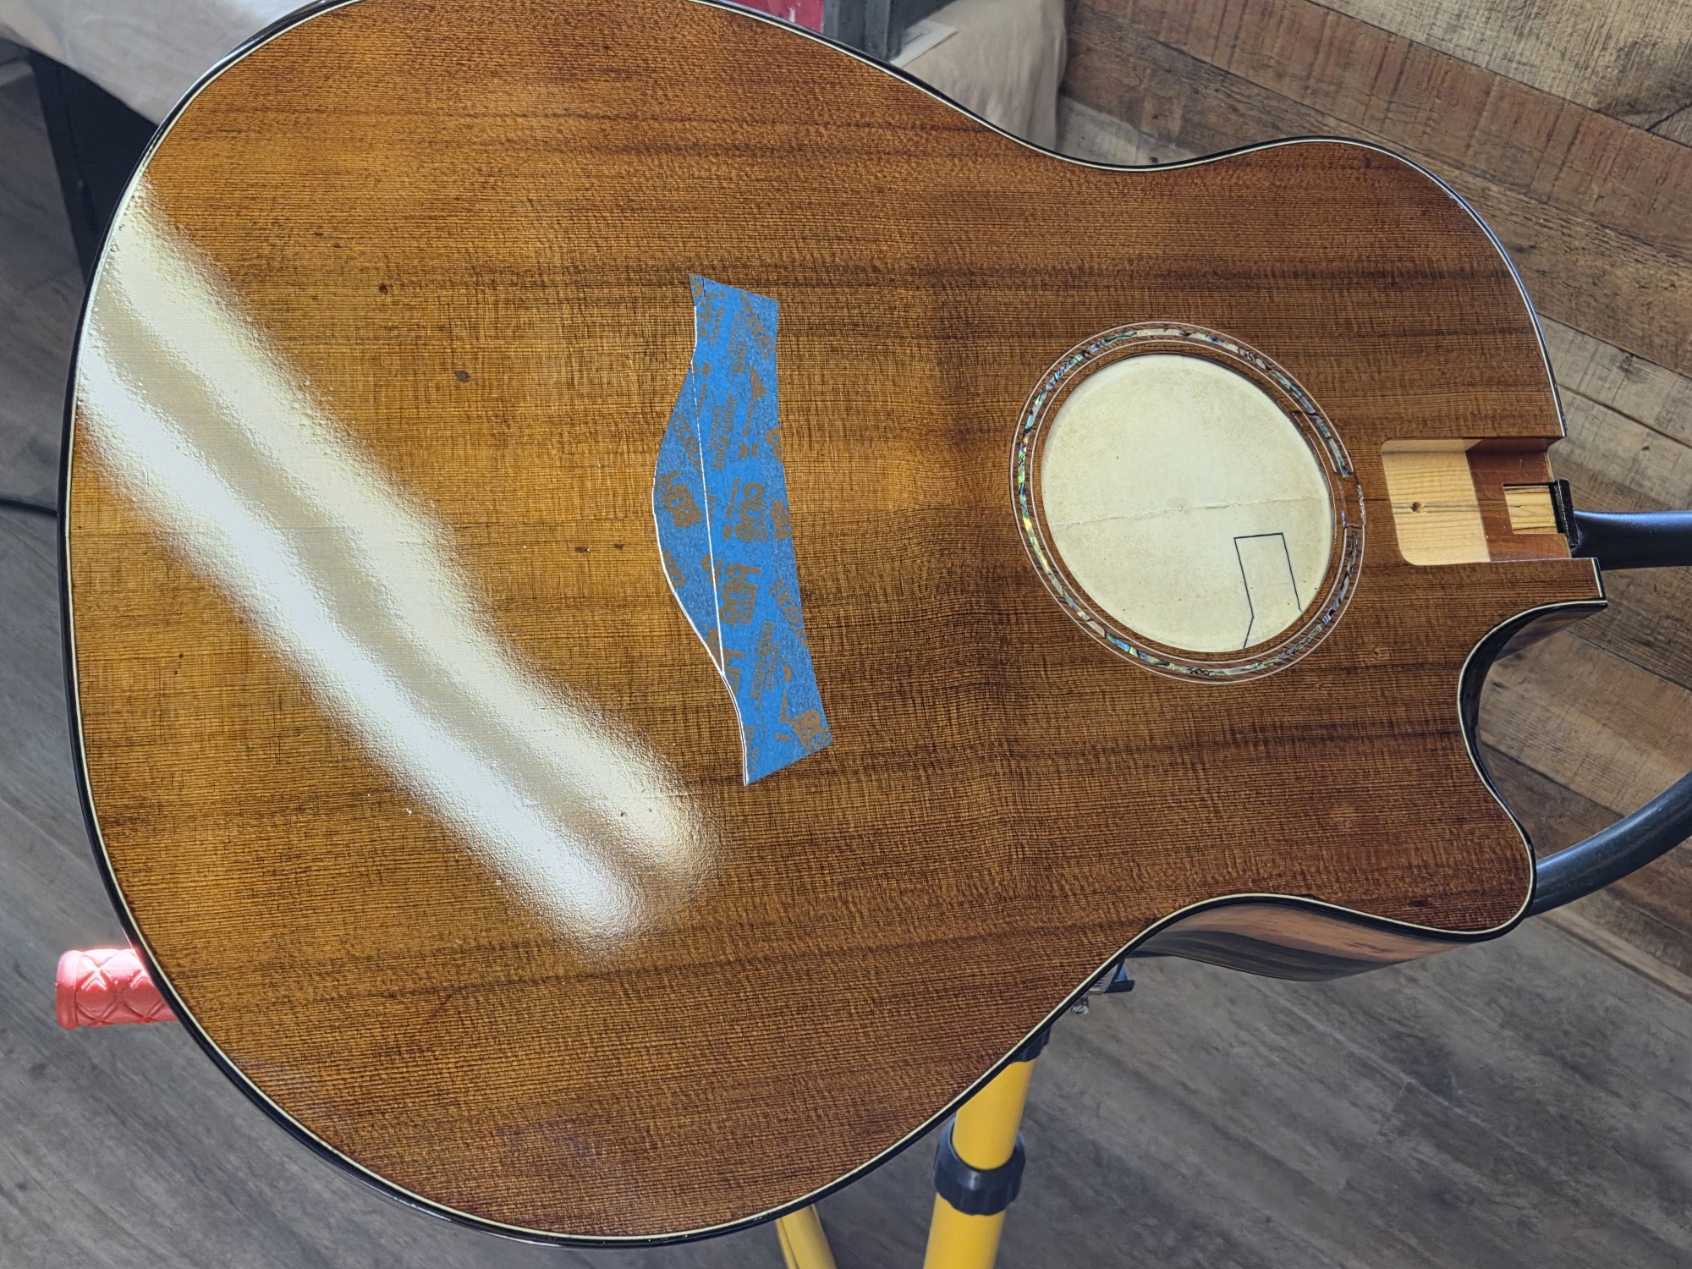
Step: 13 ( Ready to Glue on Soundboard )
Step: 14 ( Gluing on Top )
Step: 15 ( Gluing on Back Binding )
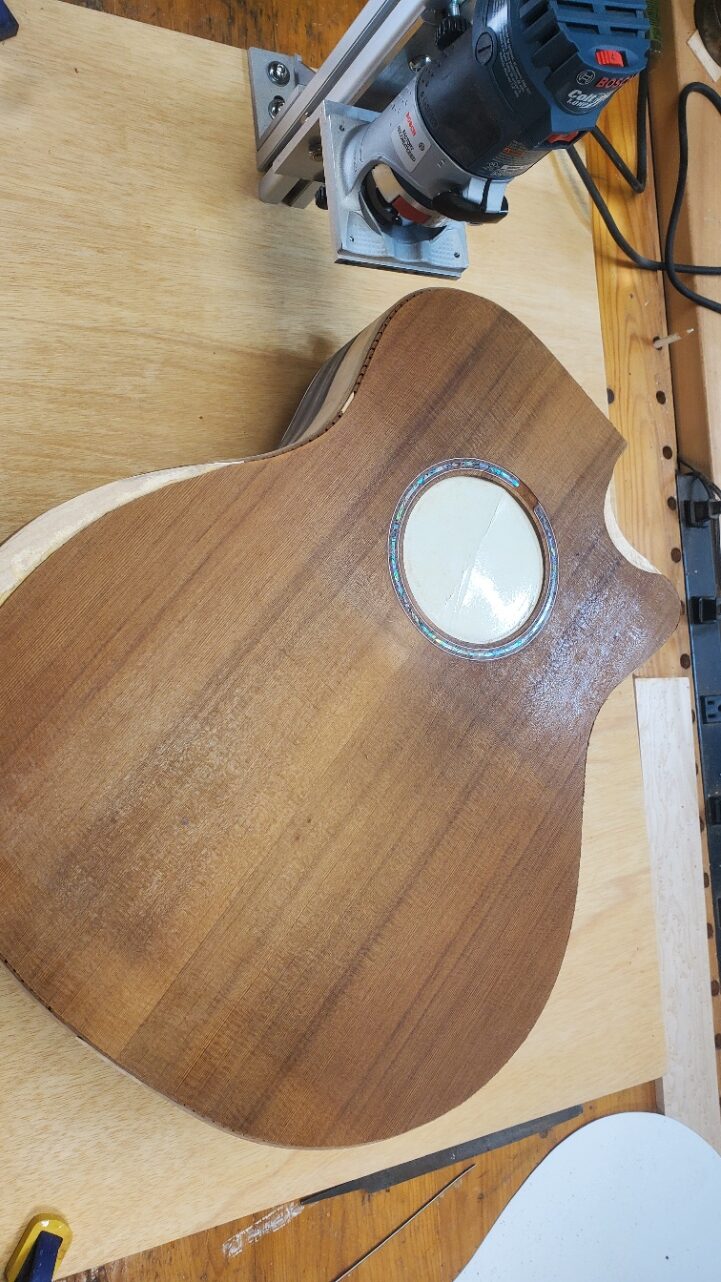
Step: 16 ( Routing for Top Binding )
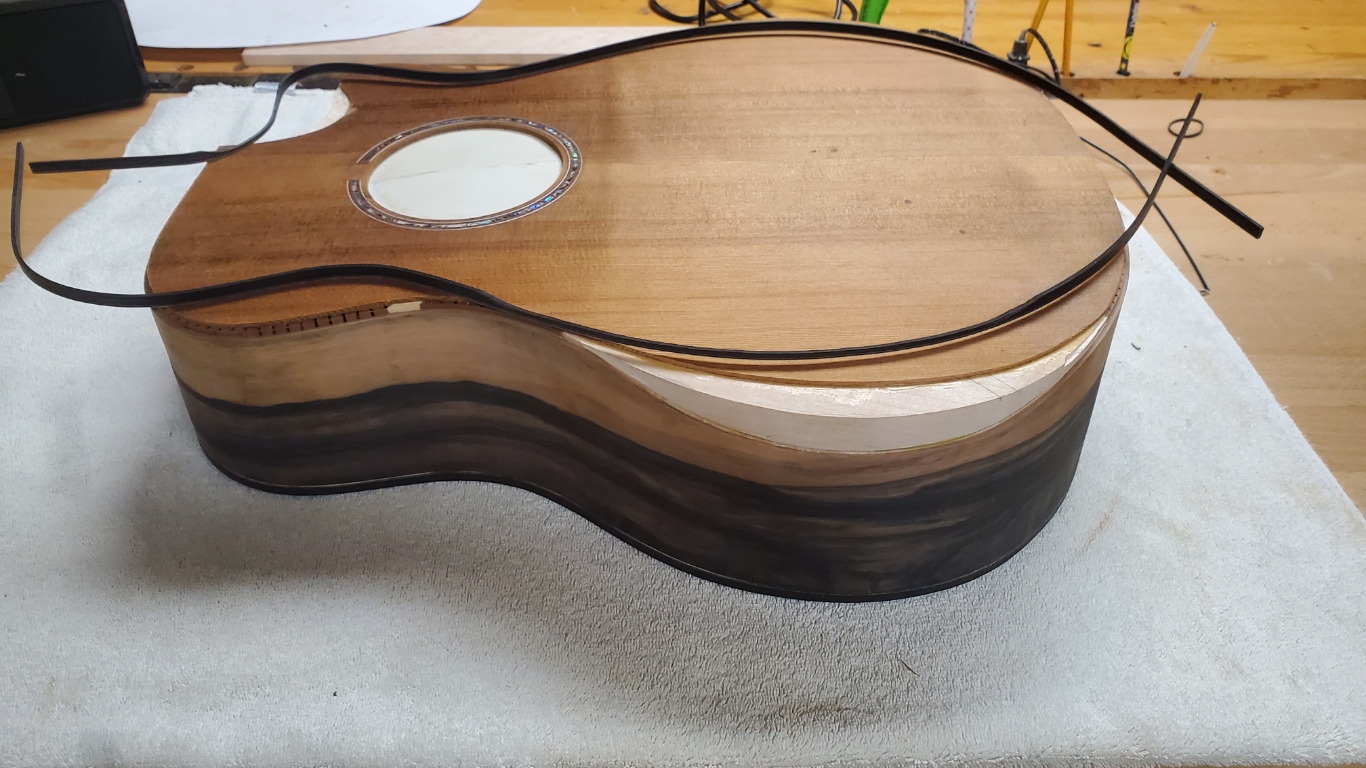
Step: 17 ( Installing Top Binding )
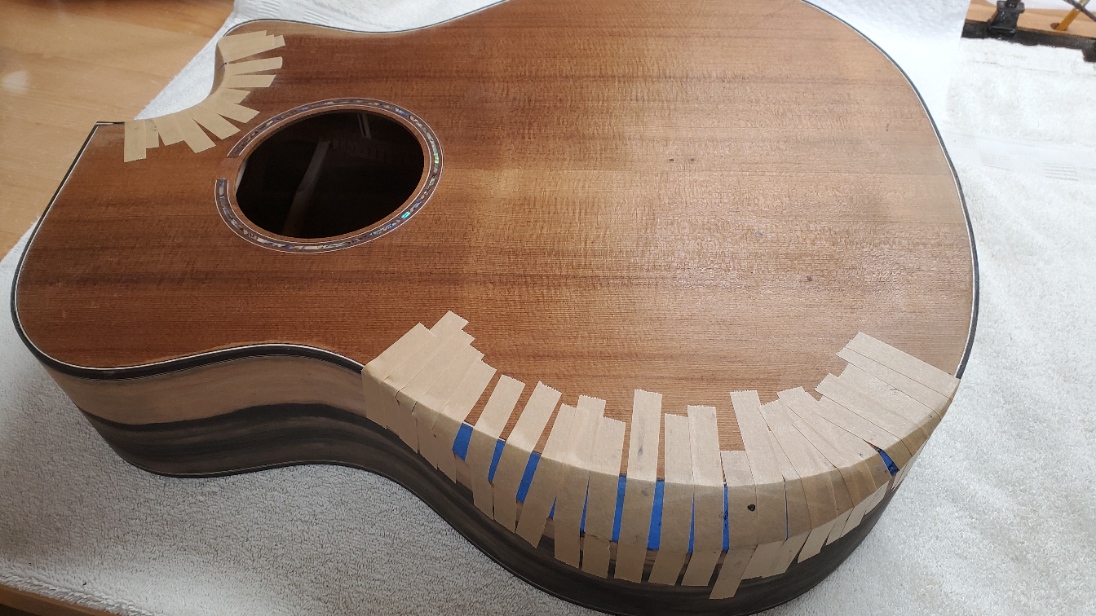
Step: 18 ( Gluing Bevel Veneer )
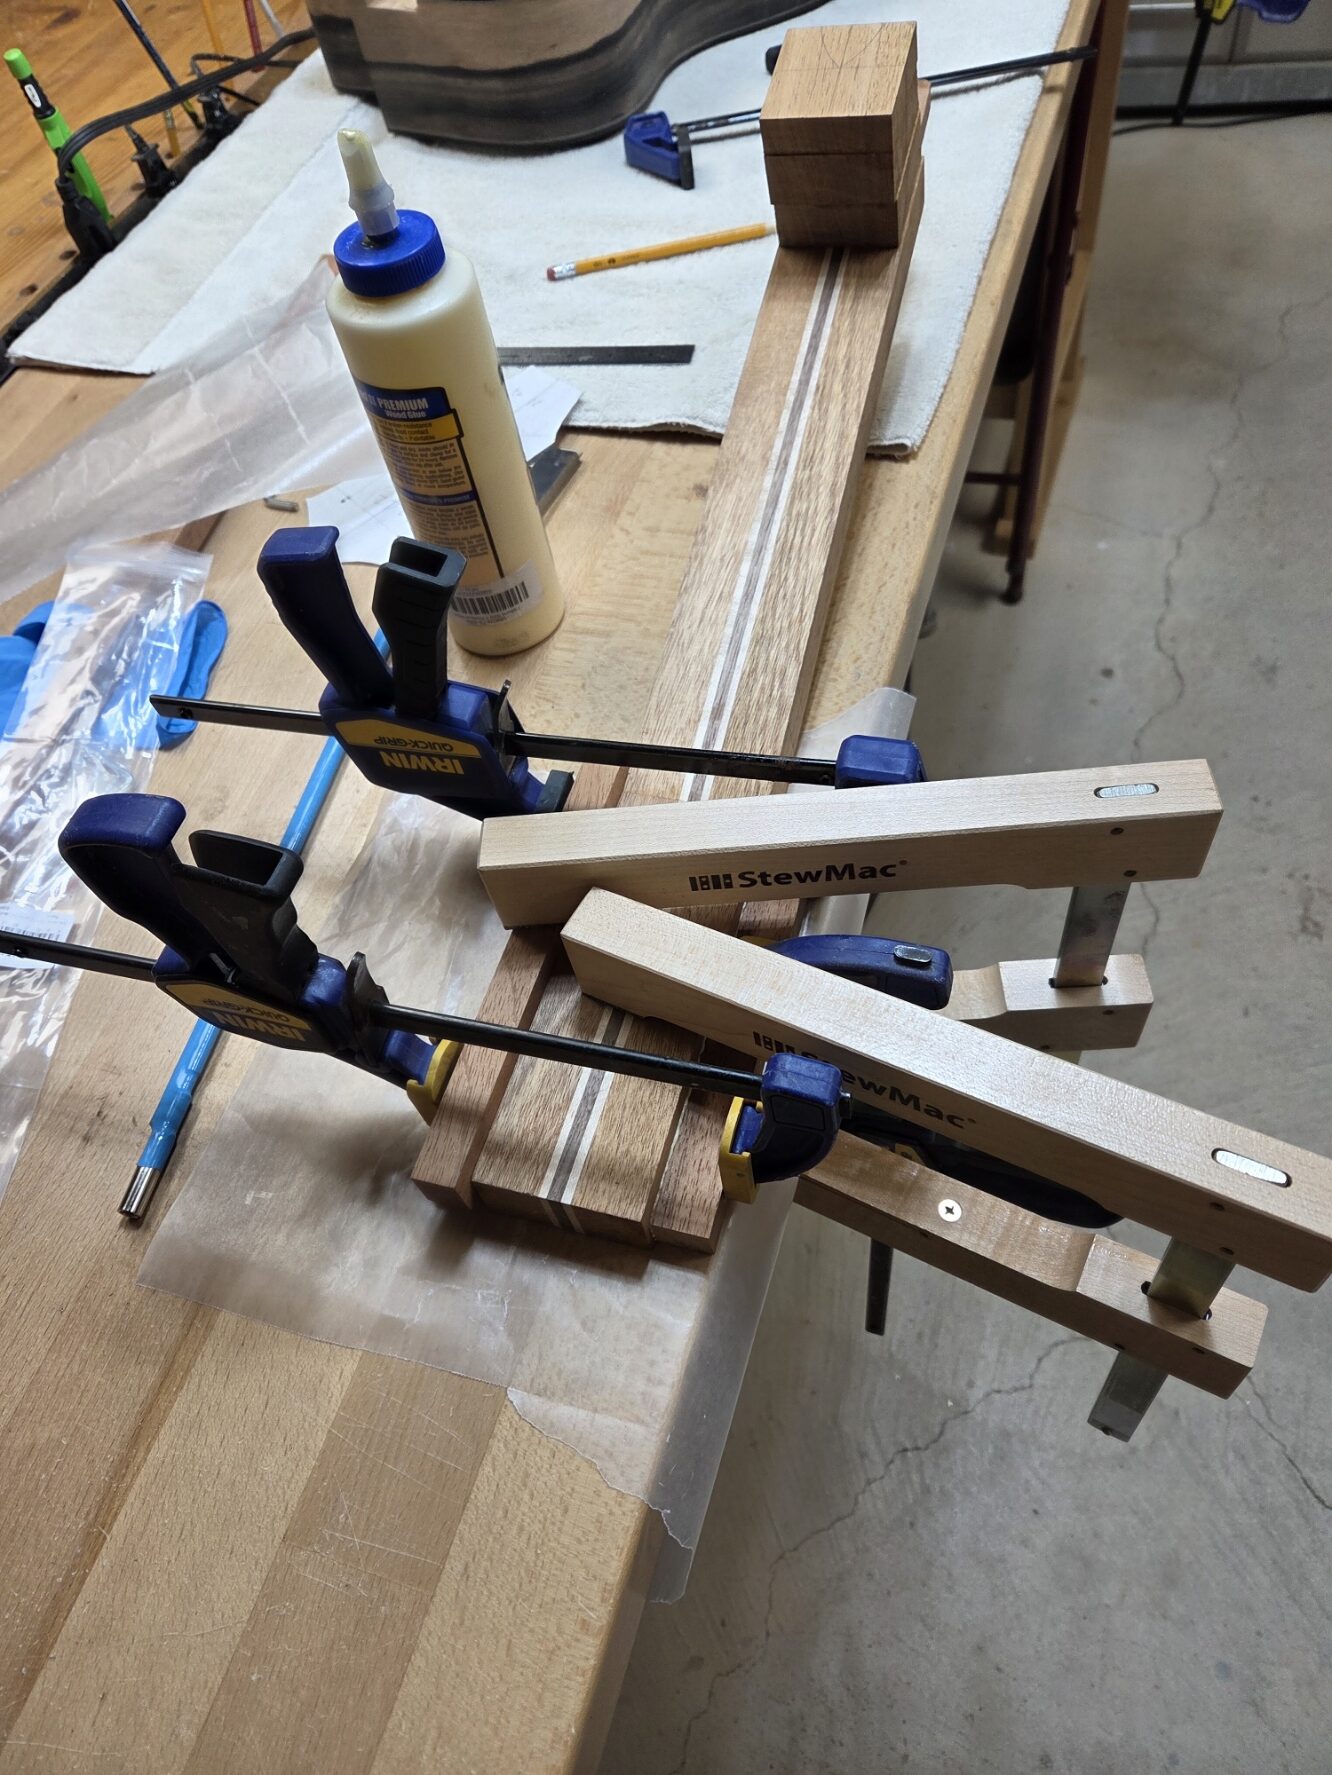
Step: 19 ( Gluing up Neck )
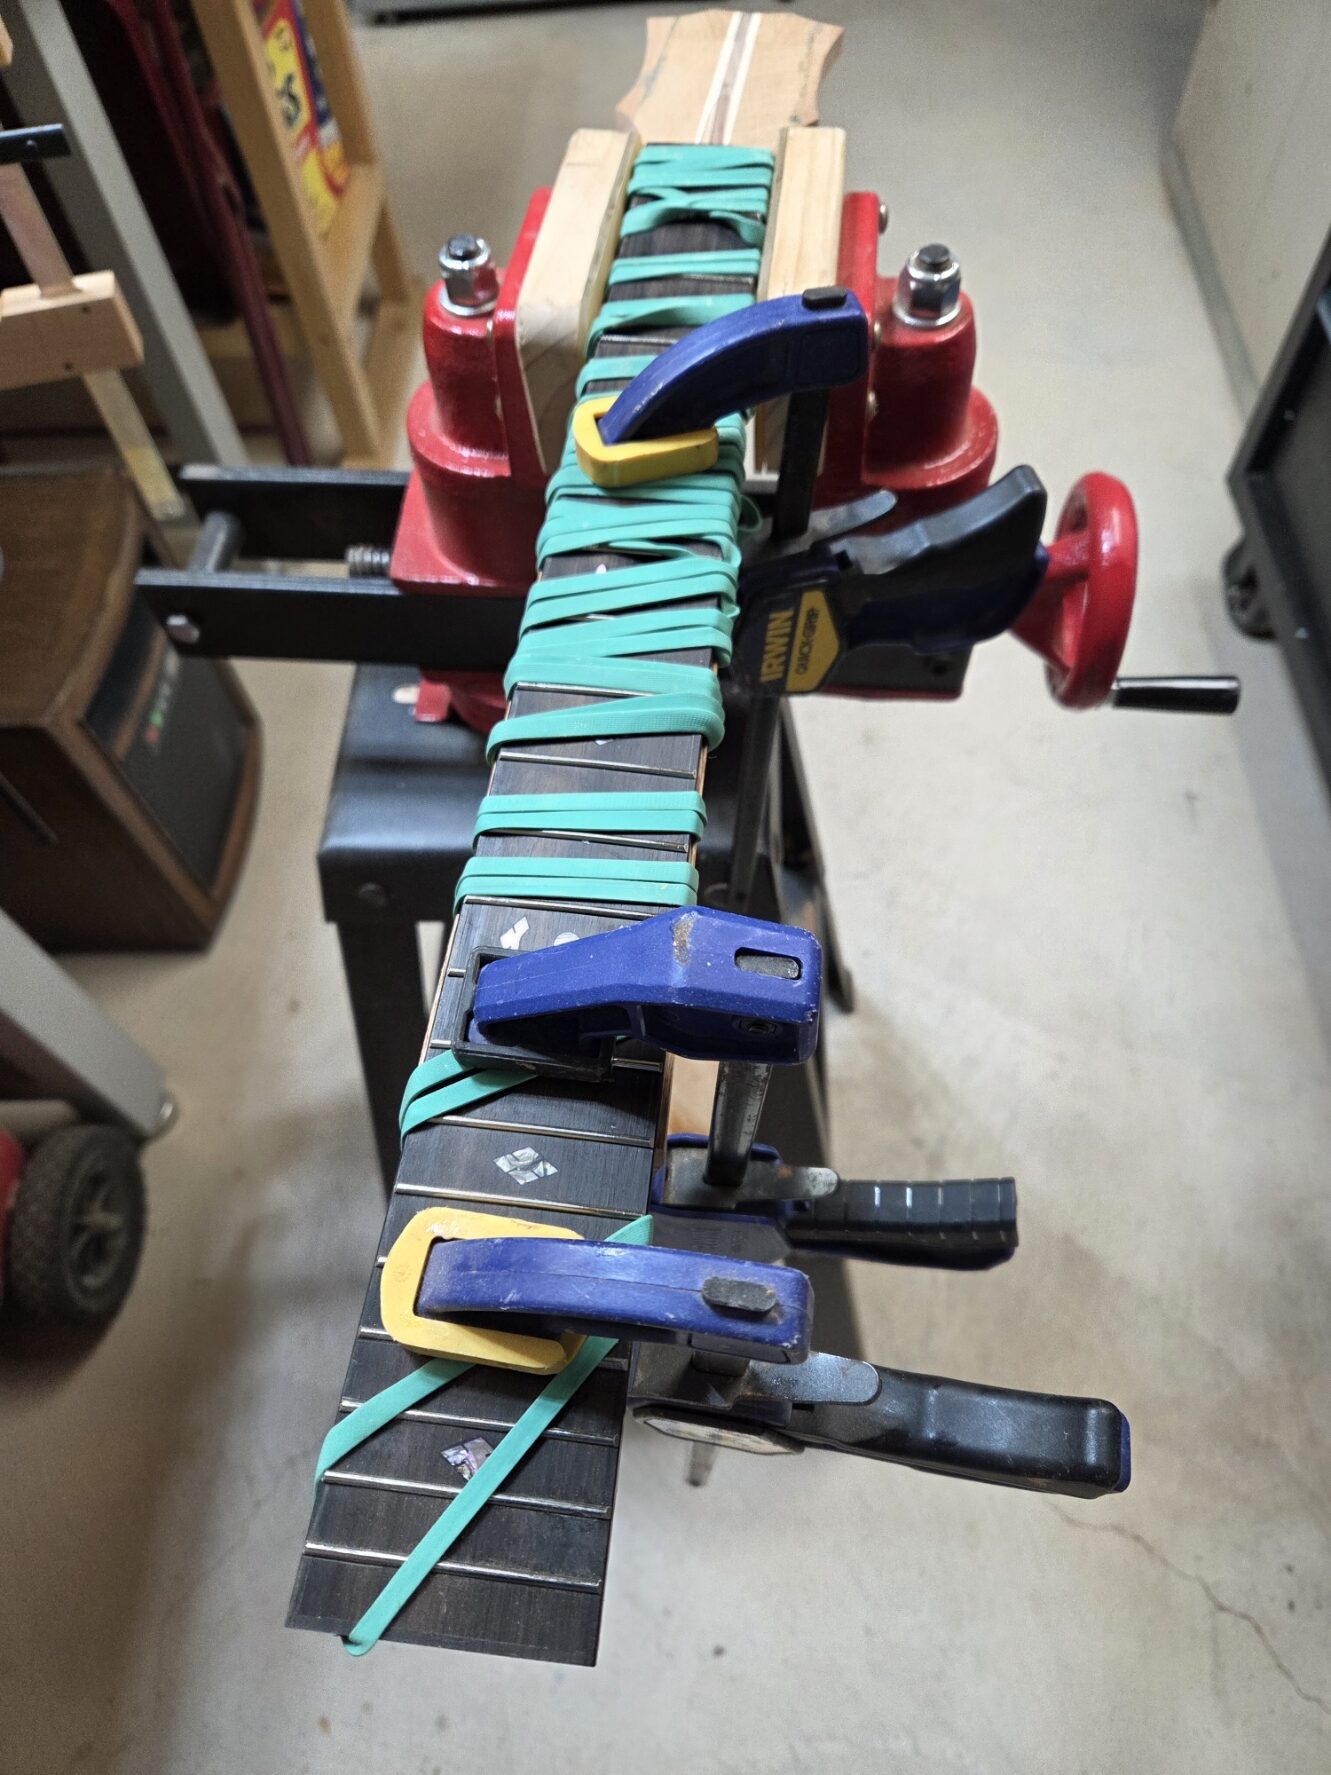
Step: 20 ( Gluing on Fingerboard )
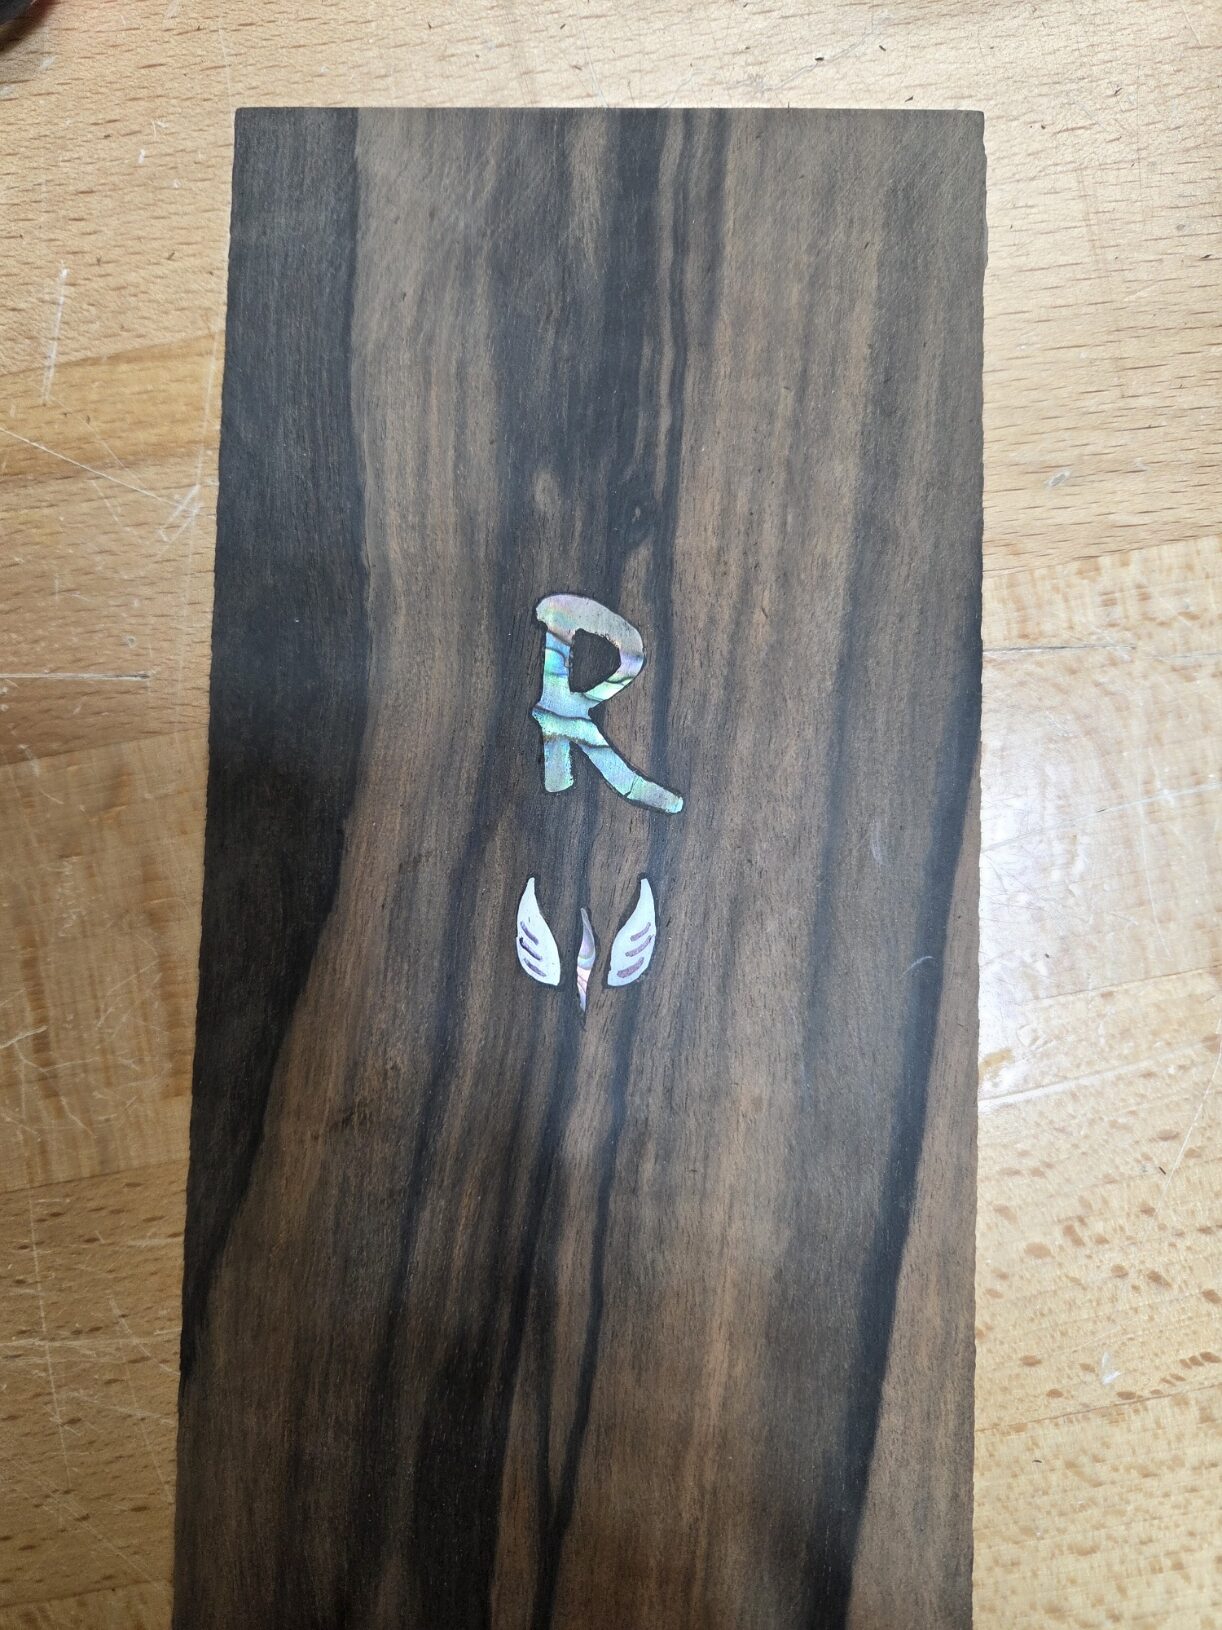
Step: 21 ( Headstock Veneer with Inlay )
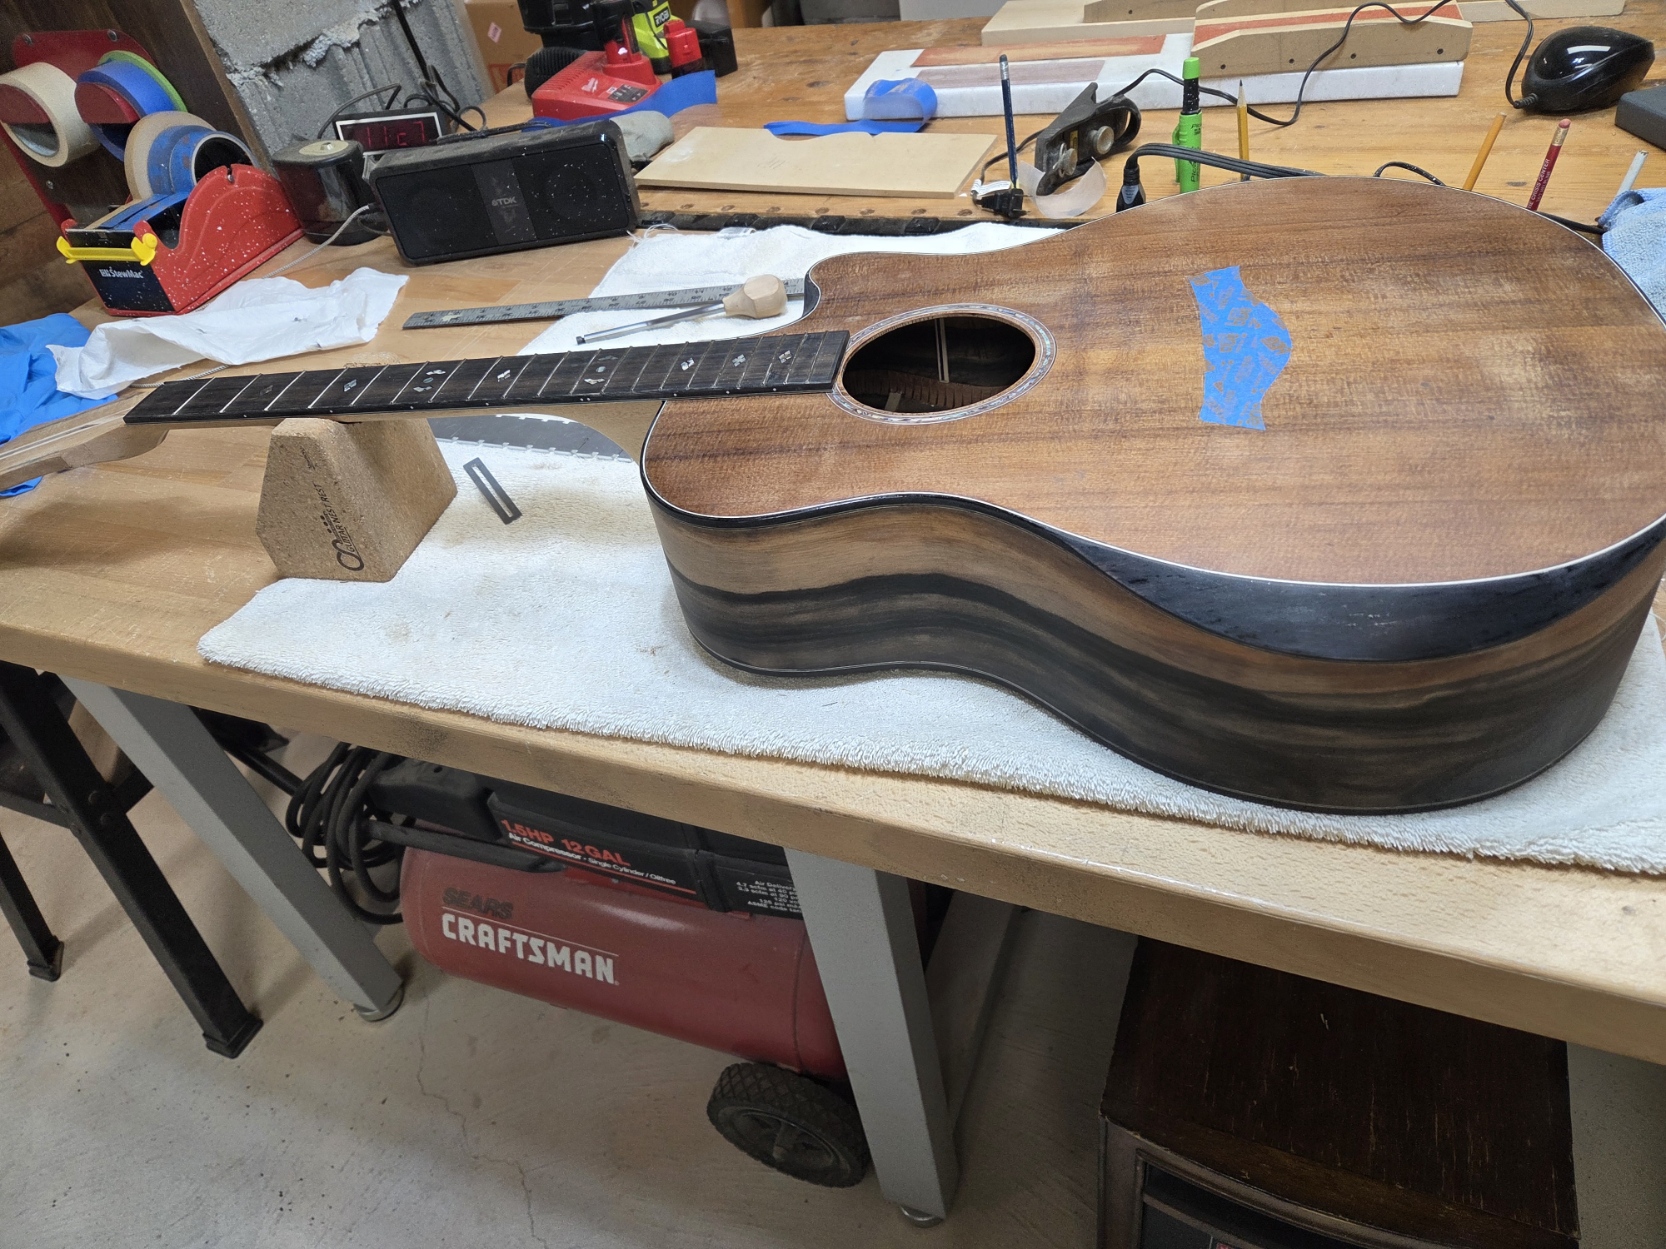
Step: 22 ( Almost ready for finish )
Step: 23 ( Applying Nitrocellulose Lacquer Finish )
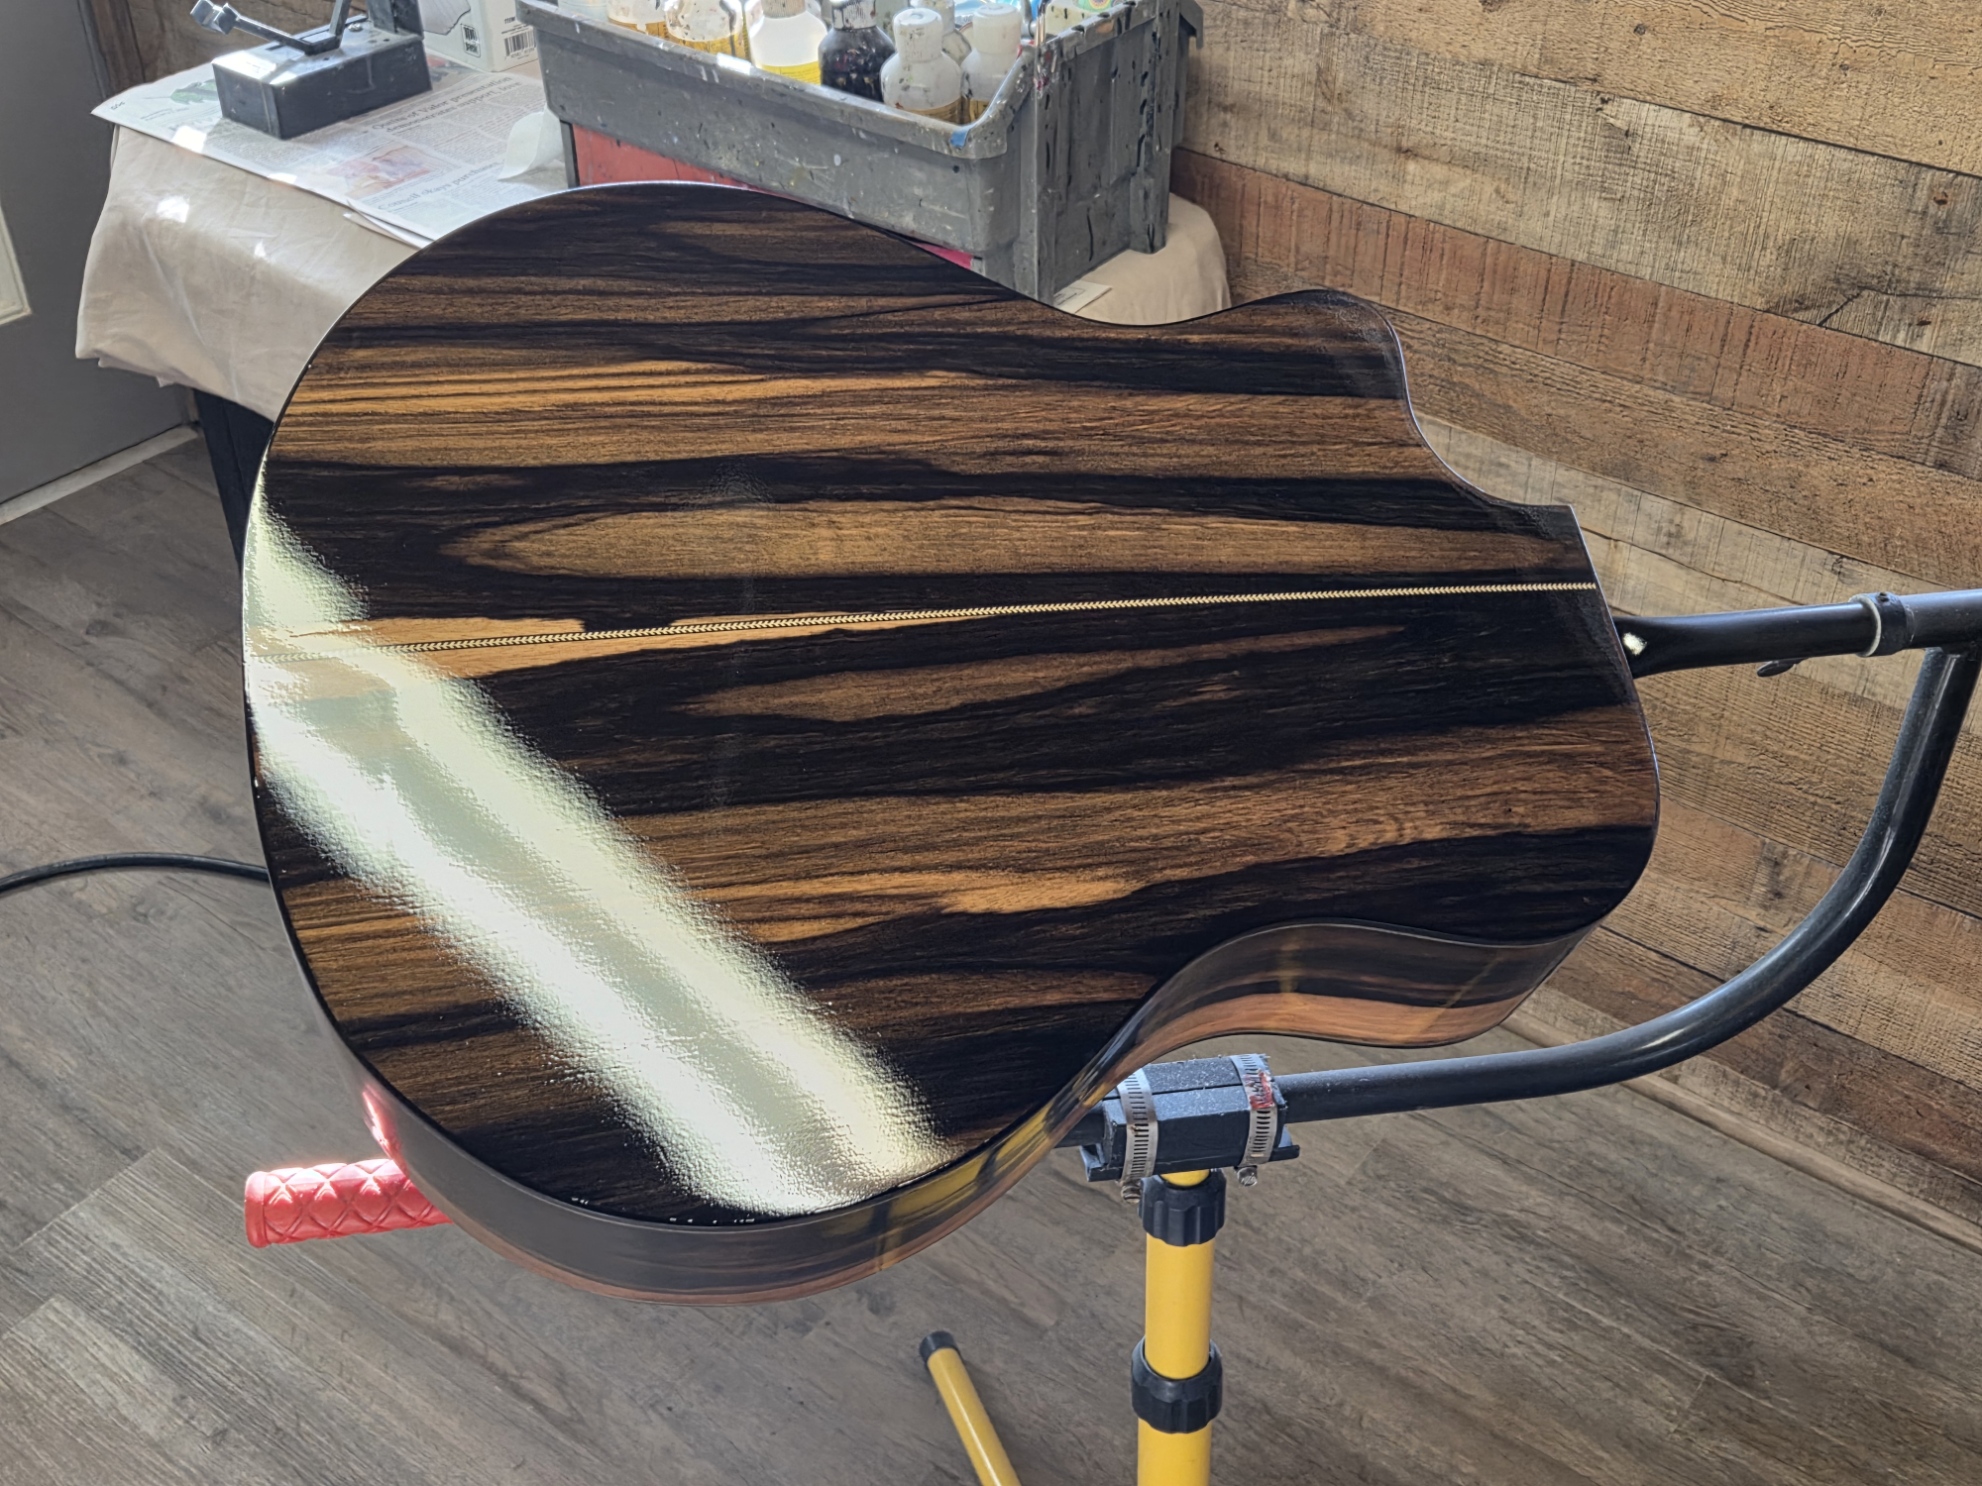
Step: 24 ( Lacquered Top )
Step: 25 ( Finished neck with Sycamore Backstrap )
EG Series Electric
1 Step ( Gluing up Body )
2 Step ( Body glued to Mahogony back )
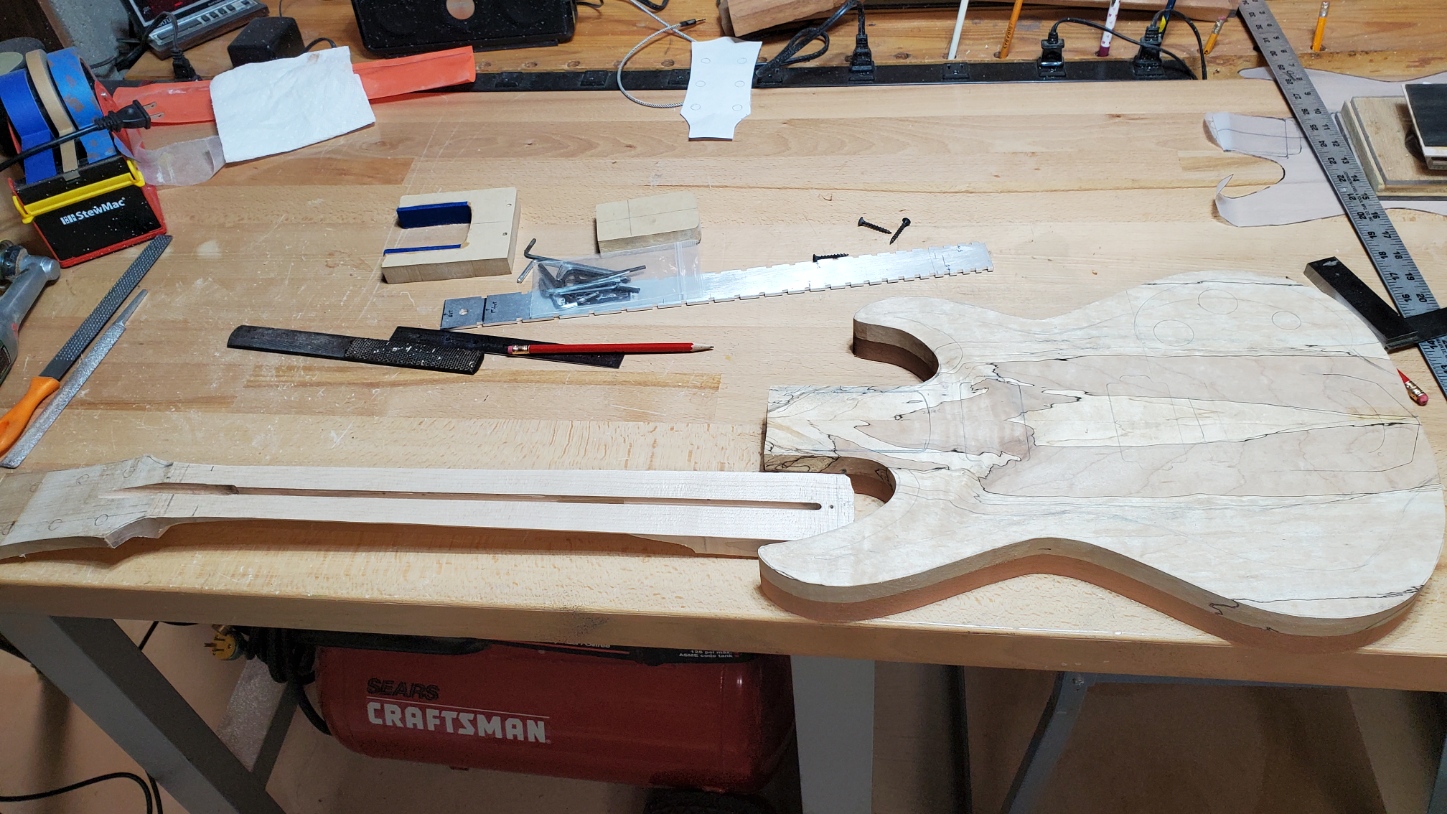
3 Step ( Body and Neck roughed out )
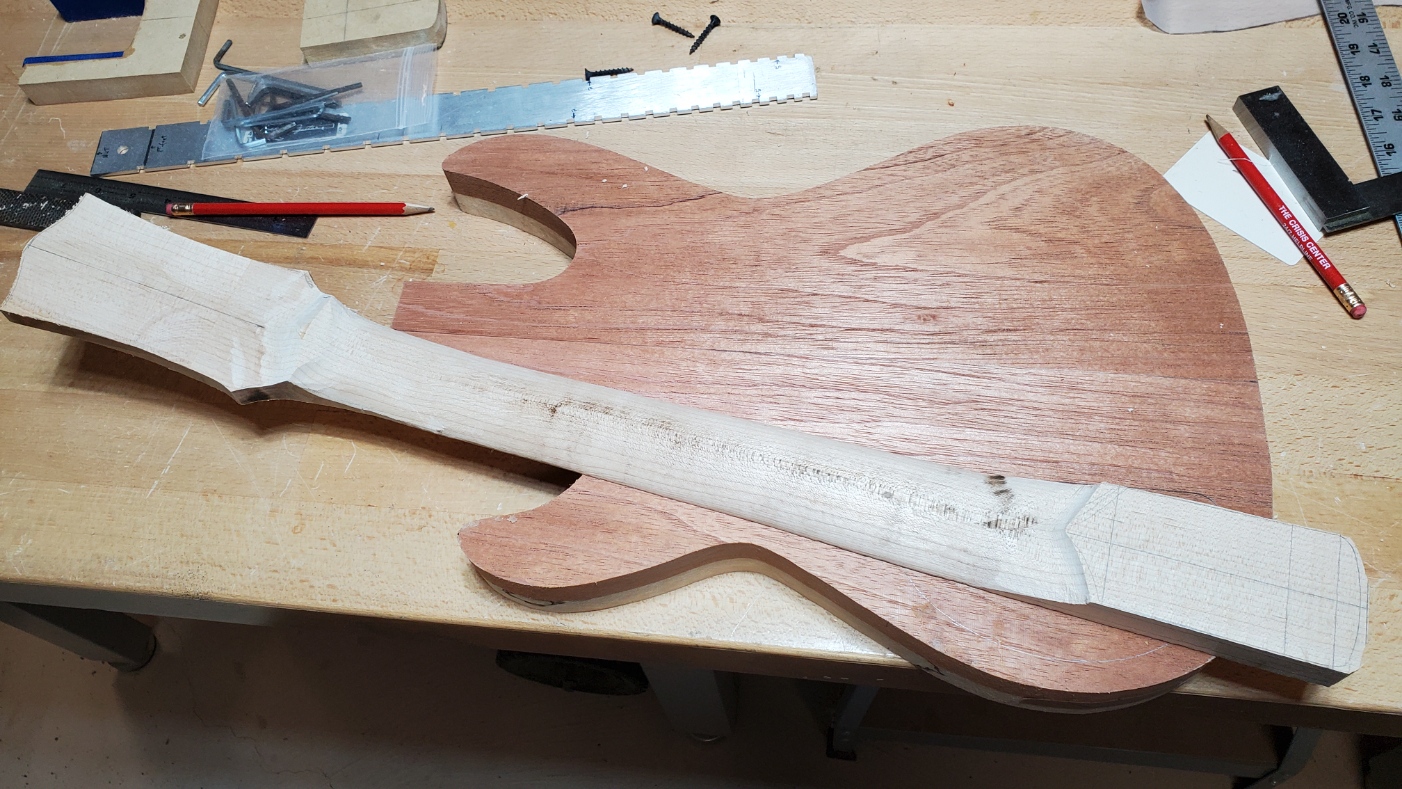
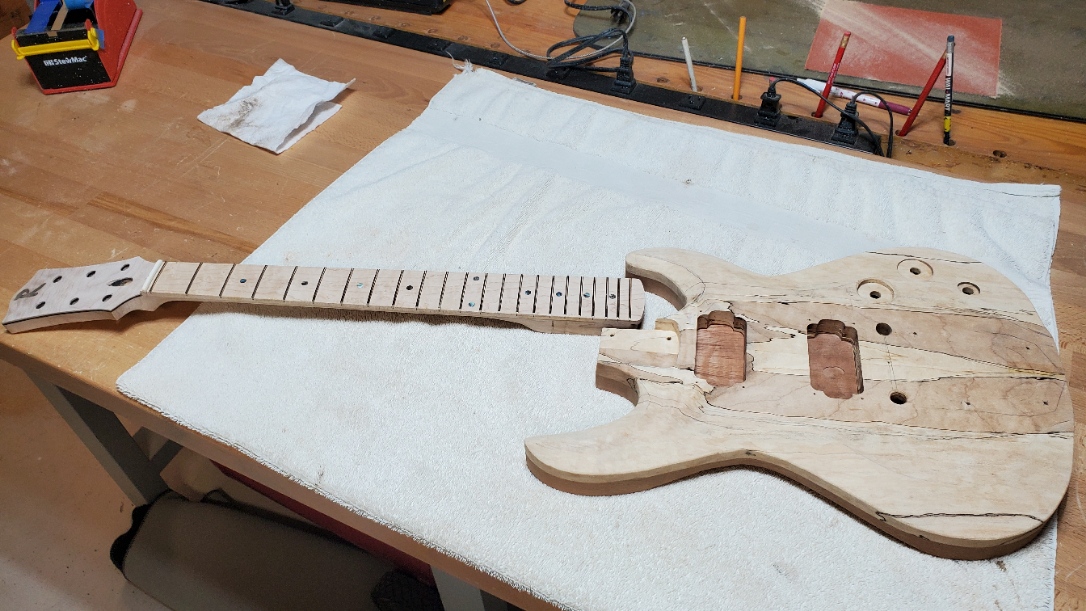
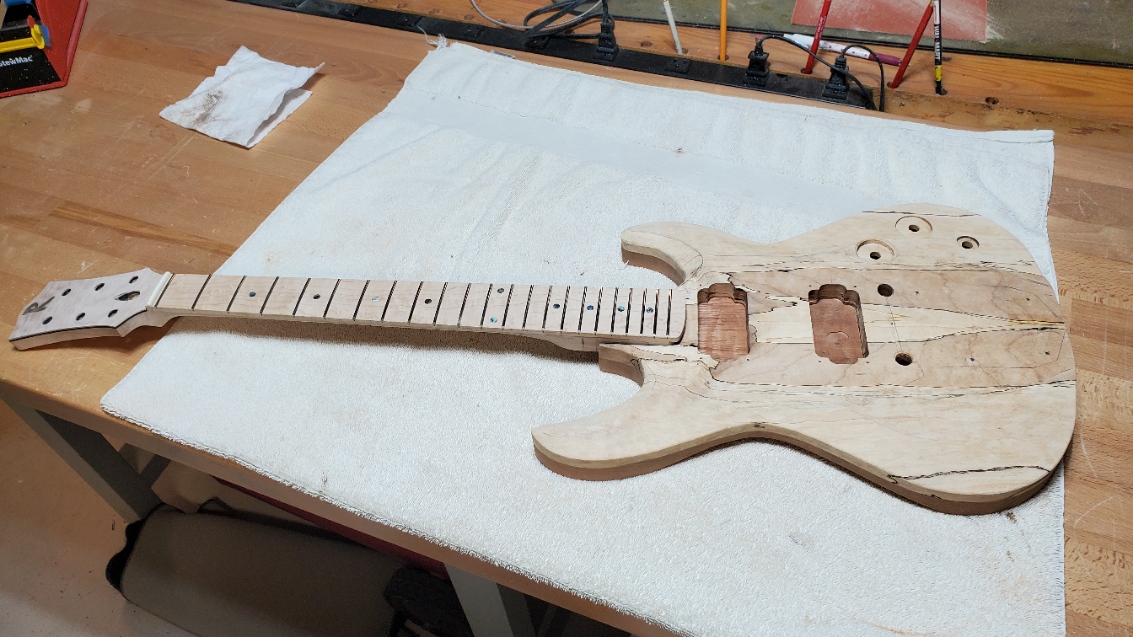
4 Step ( 4 Body routed and neck finished )
5 Step ( Body routed for pickups and neck pocket )
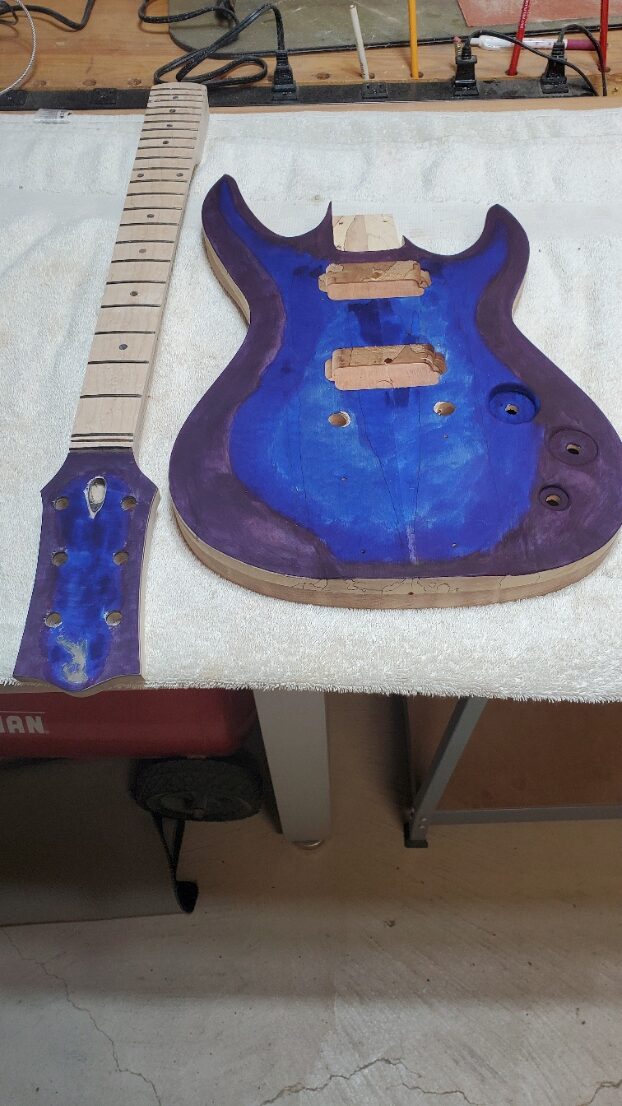
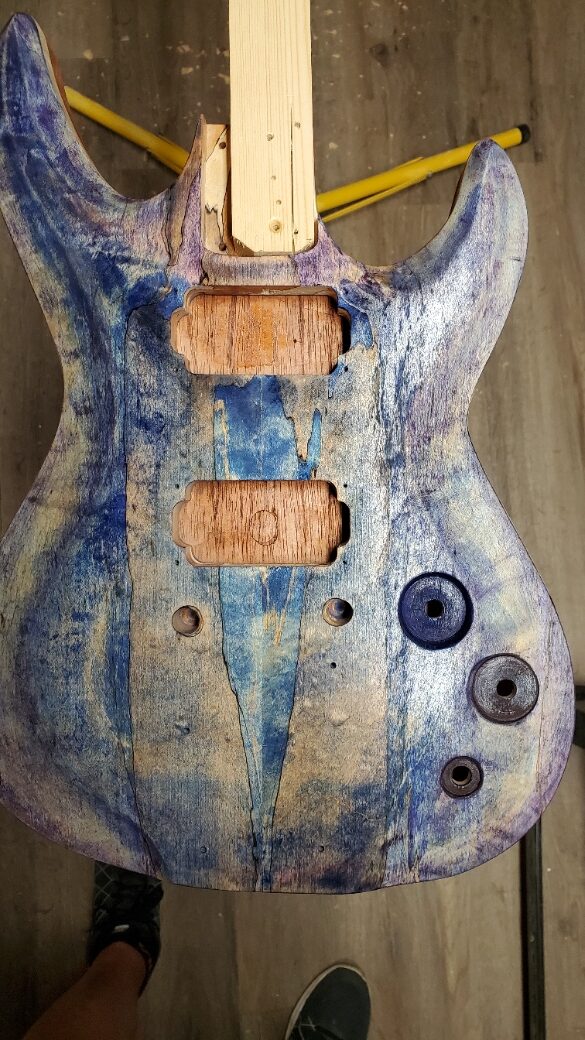
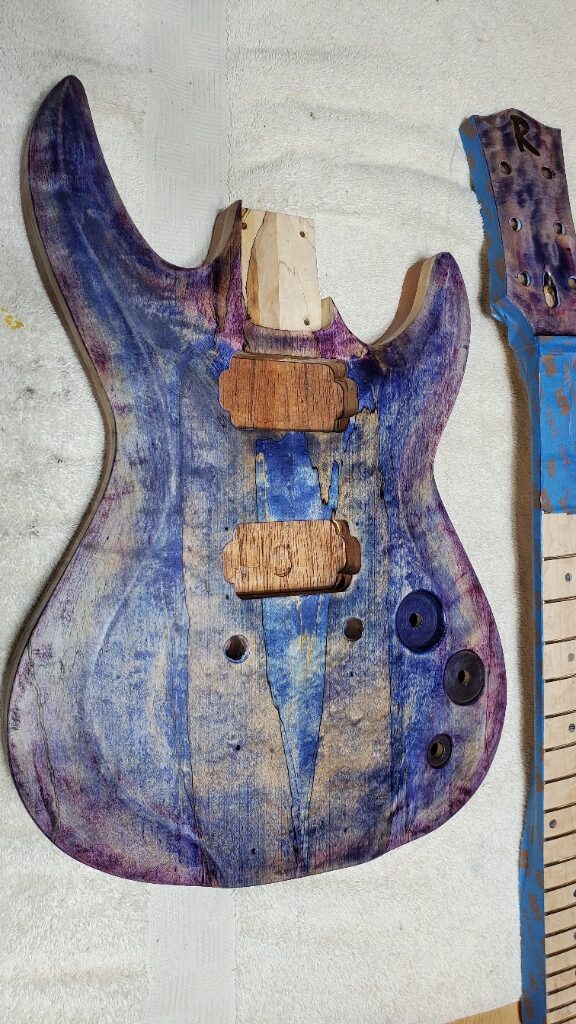
6 Step ( First application of color )
7 Step ( After several layers of color )
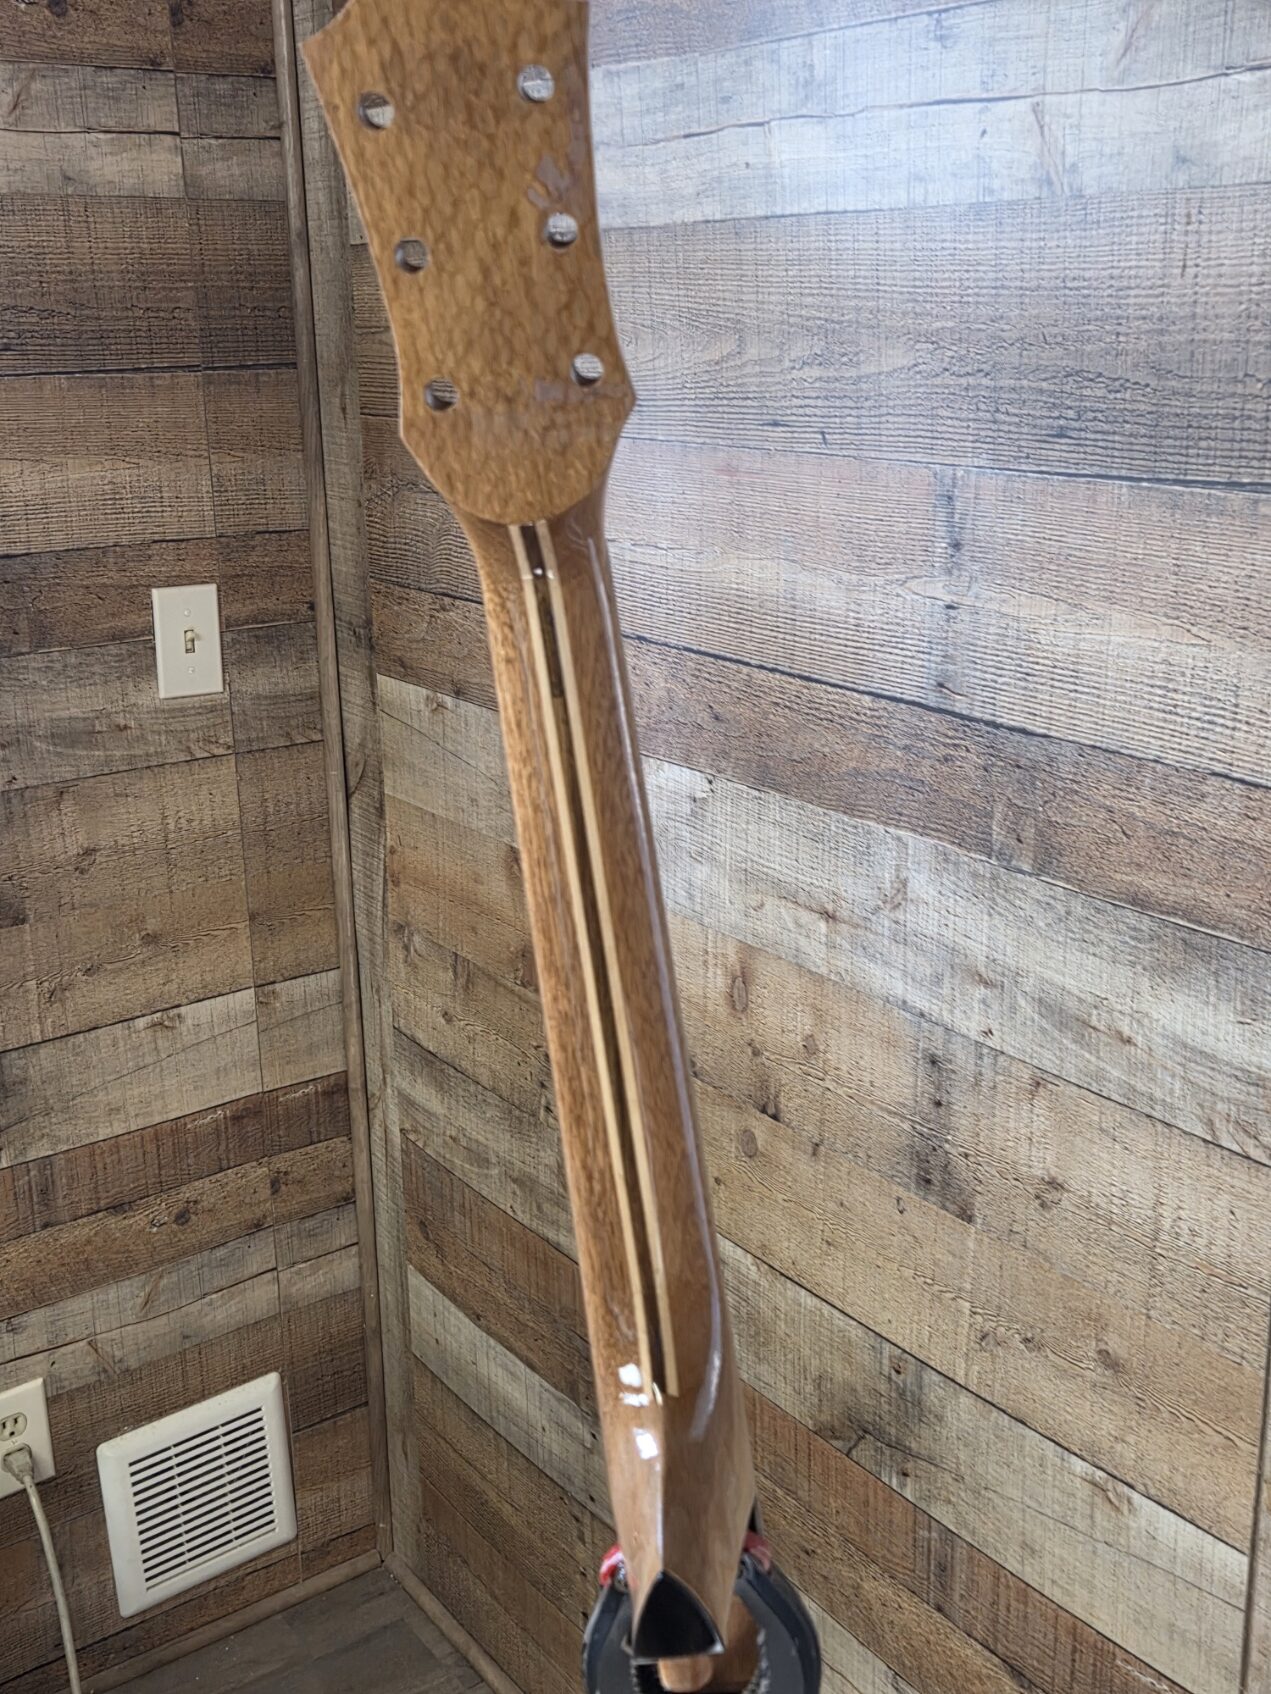
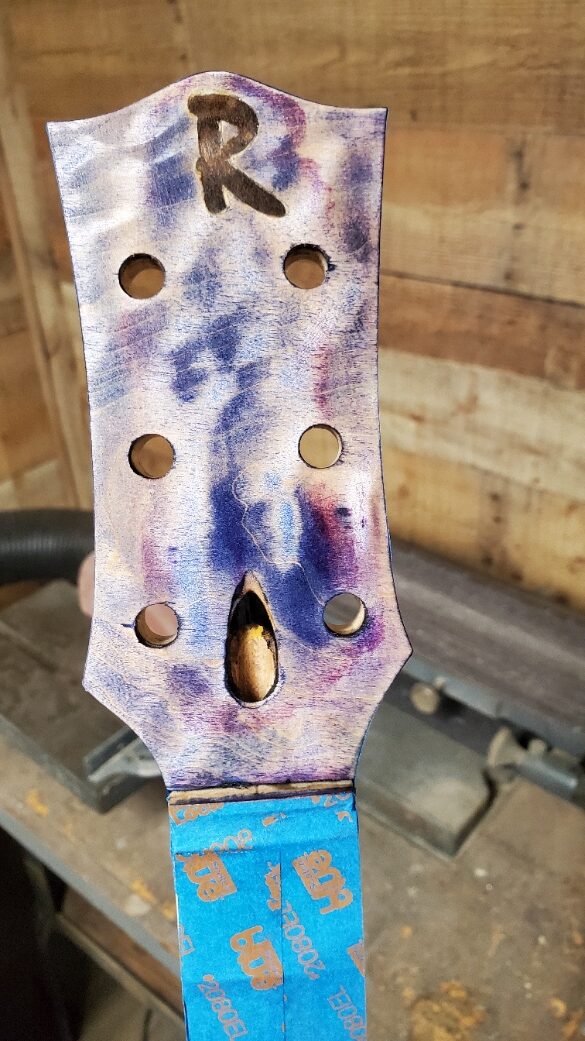
8 Step ( Headstock with inlay )
9 Step ( Ready for finishing )
10 Step ( All Lacquered up, ready for hardware )
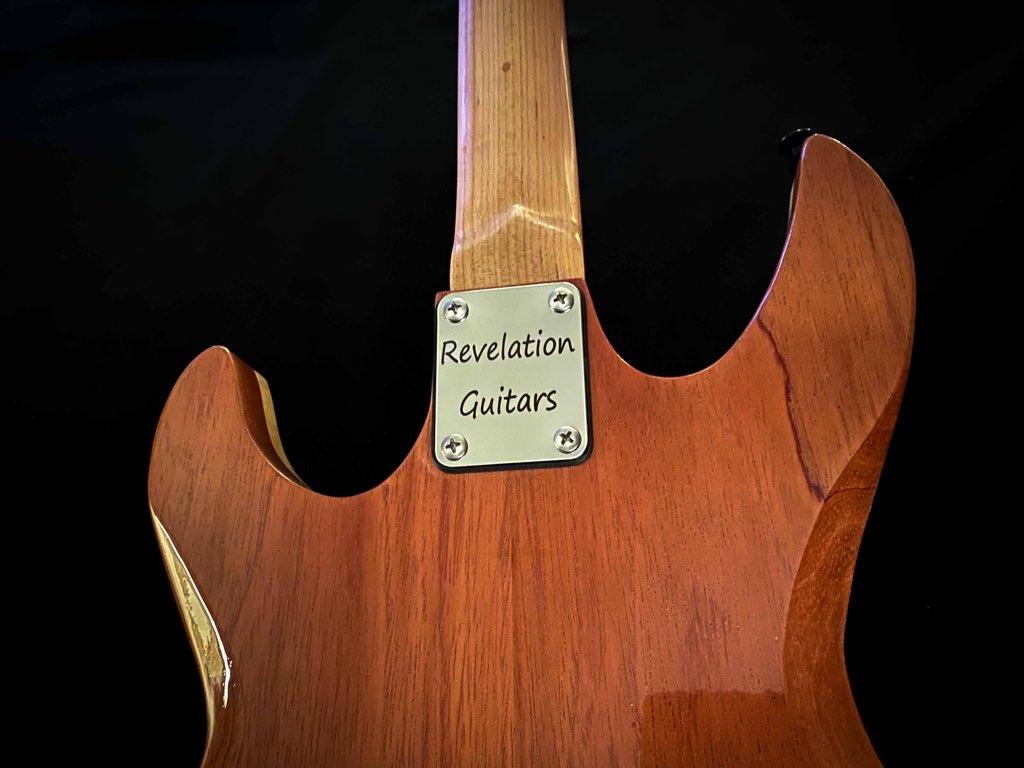
11 Step ( Neck Attached )
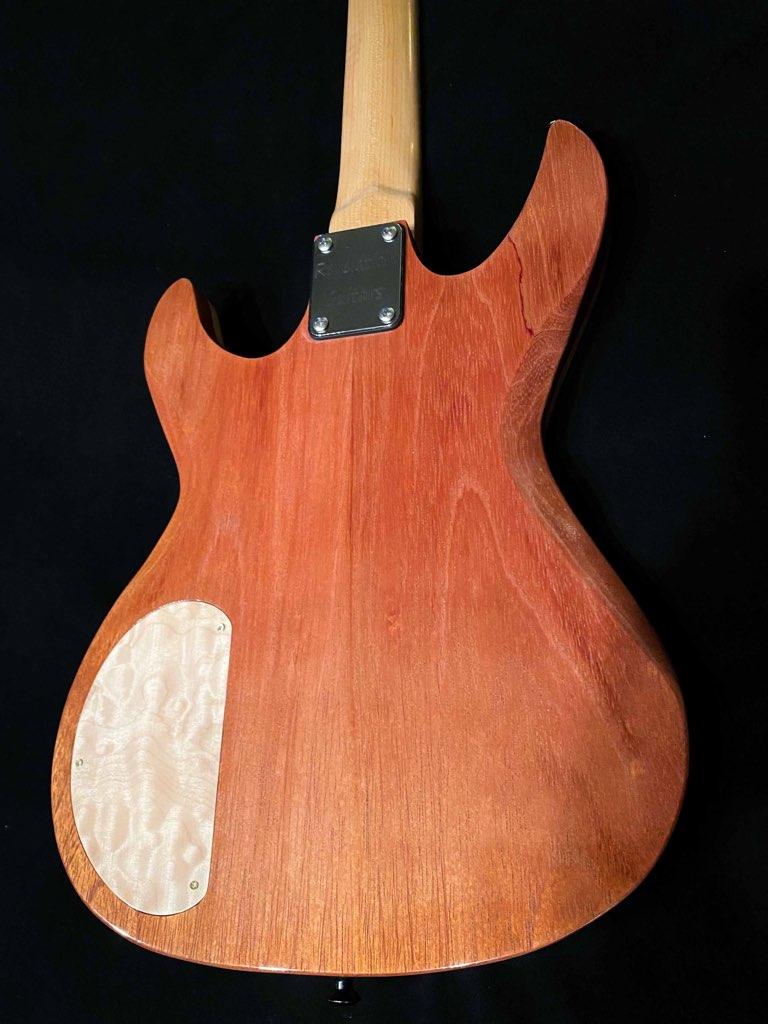
12 Step ( Wired up and Covered )
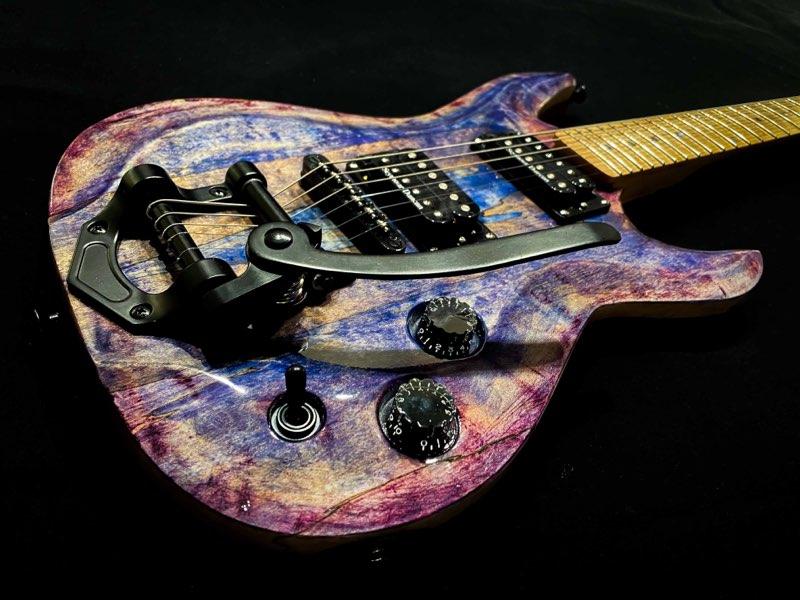
13 Step ( Finished Guitar )
